Project Overview
What: Affordable solution that brings human senses such as smell to reduce symptoms of VR motion sickness. This project was a part of my major studio course at Parsons School of Design.
Role: Researching, prototyping, user testing
Duration: 2.5 months
Tools: Arduino, Oculus
Research
What triggers VR motion sickness:
Sensory conflict
The information received by eyes in VR doesn’t always match what your body feels in terms of balance and spatial orientation.
Software/content
VR scene, quality of visual rendering, movement. People become more nauseous when they see moving visual content than static content.
Hardware
Studies have found that when the headset's IPD is too large, users experience greater discomfort. Within hardware, another factor is the weight of the device. Wearing a heavy object on the head for a long time can cause discomfort to the user regardless of the VR content.
Human factors
And The intensity and level of VR sickness differ between users. If you are prone to motion sickness in physical life, If you feel dizzy and nauseous in different types of transportation, you're more likely to get similar symptoms in VR experience.
How do people manage motion sickness in industry solutions?
Applying depth of field effect
Engaging the user in physical activity
Making the IPD (interpupillary distance) adjustable
Improving the video quality
Adding “multisensory information” - smell: there are different scent masks such as:
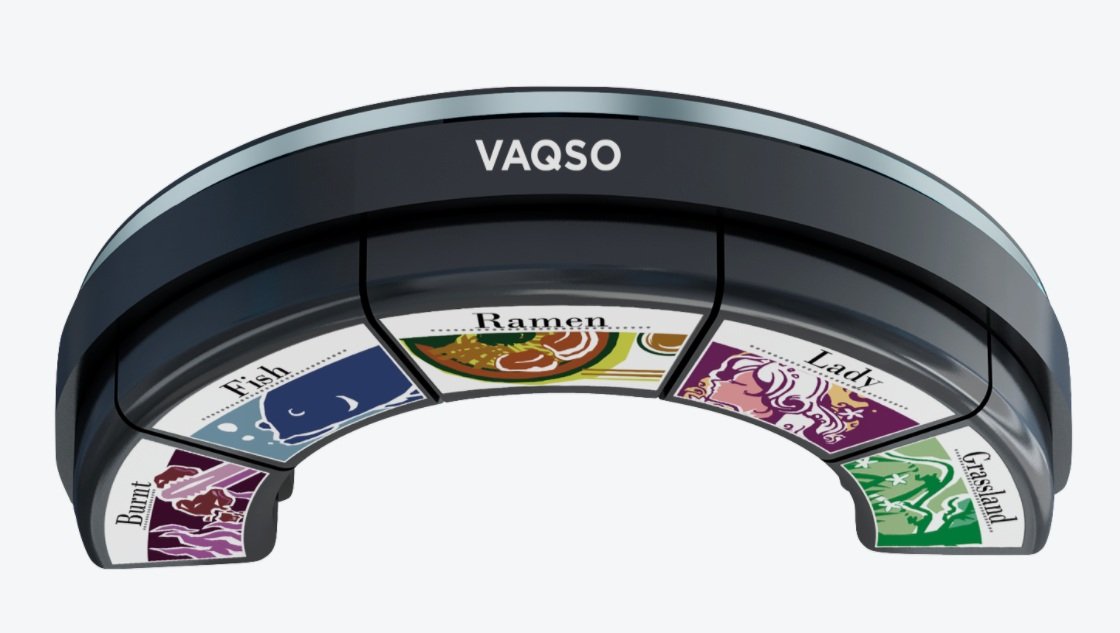
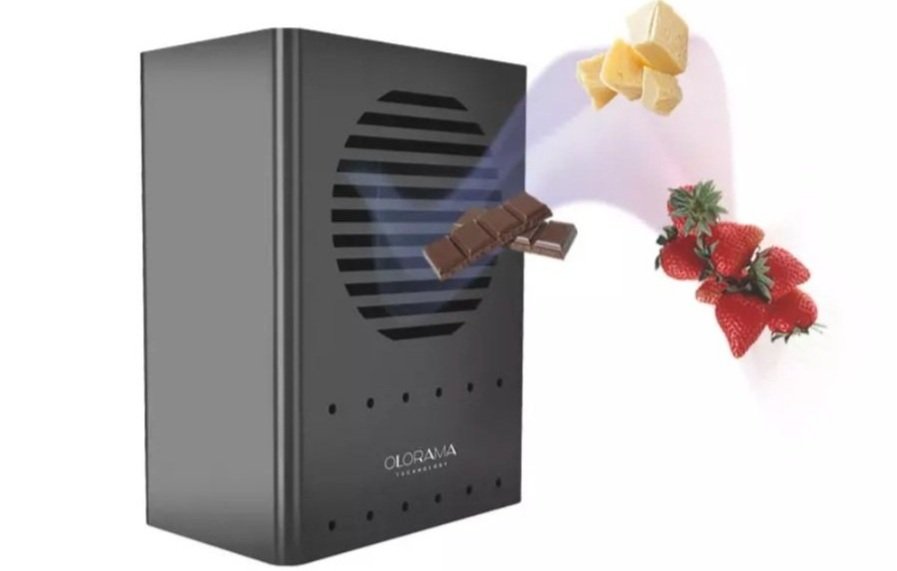
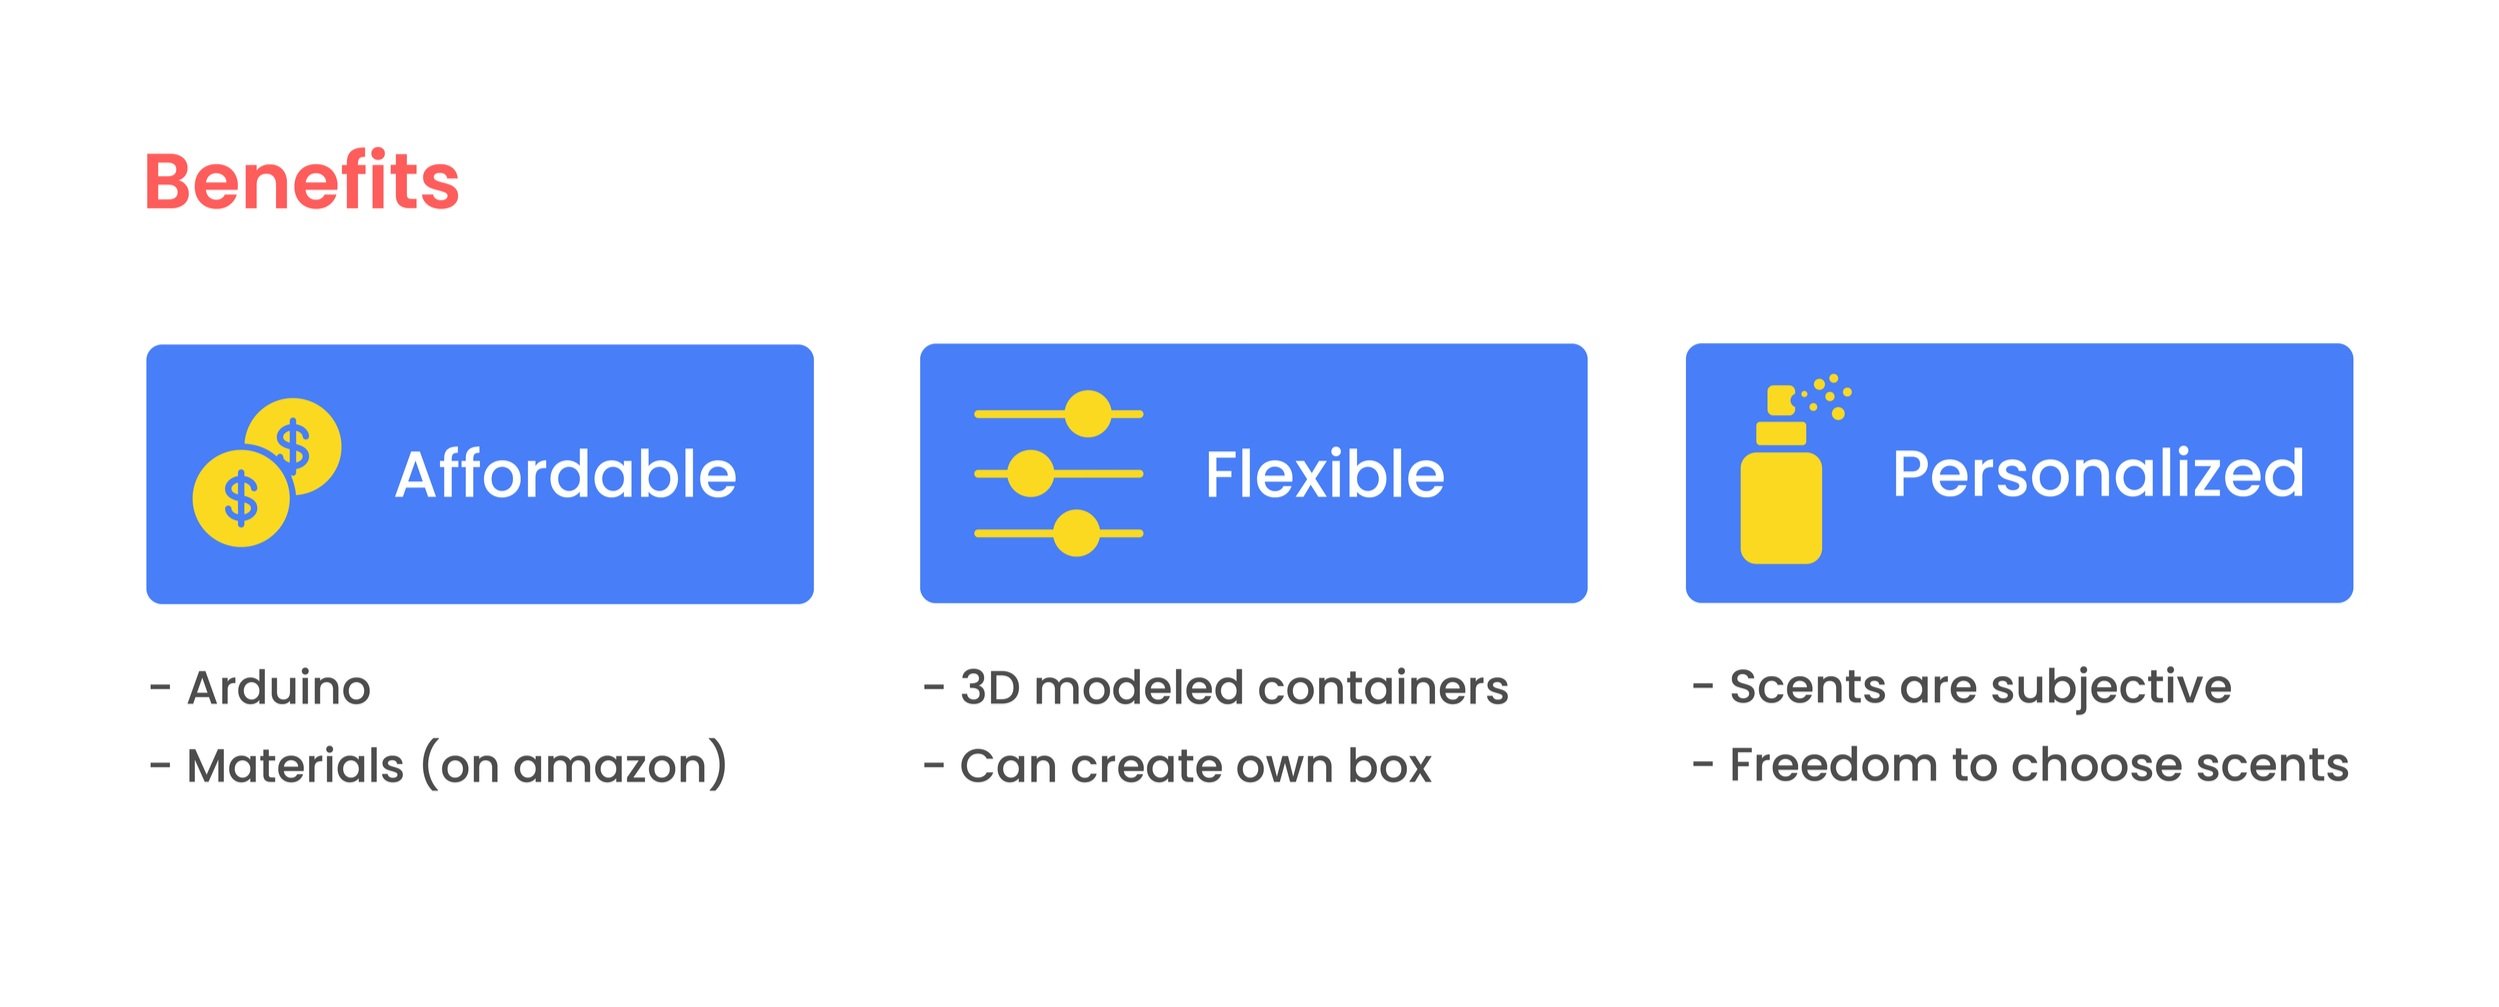
However, many of those products are not available to the general public because of the high cost.

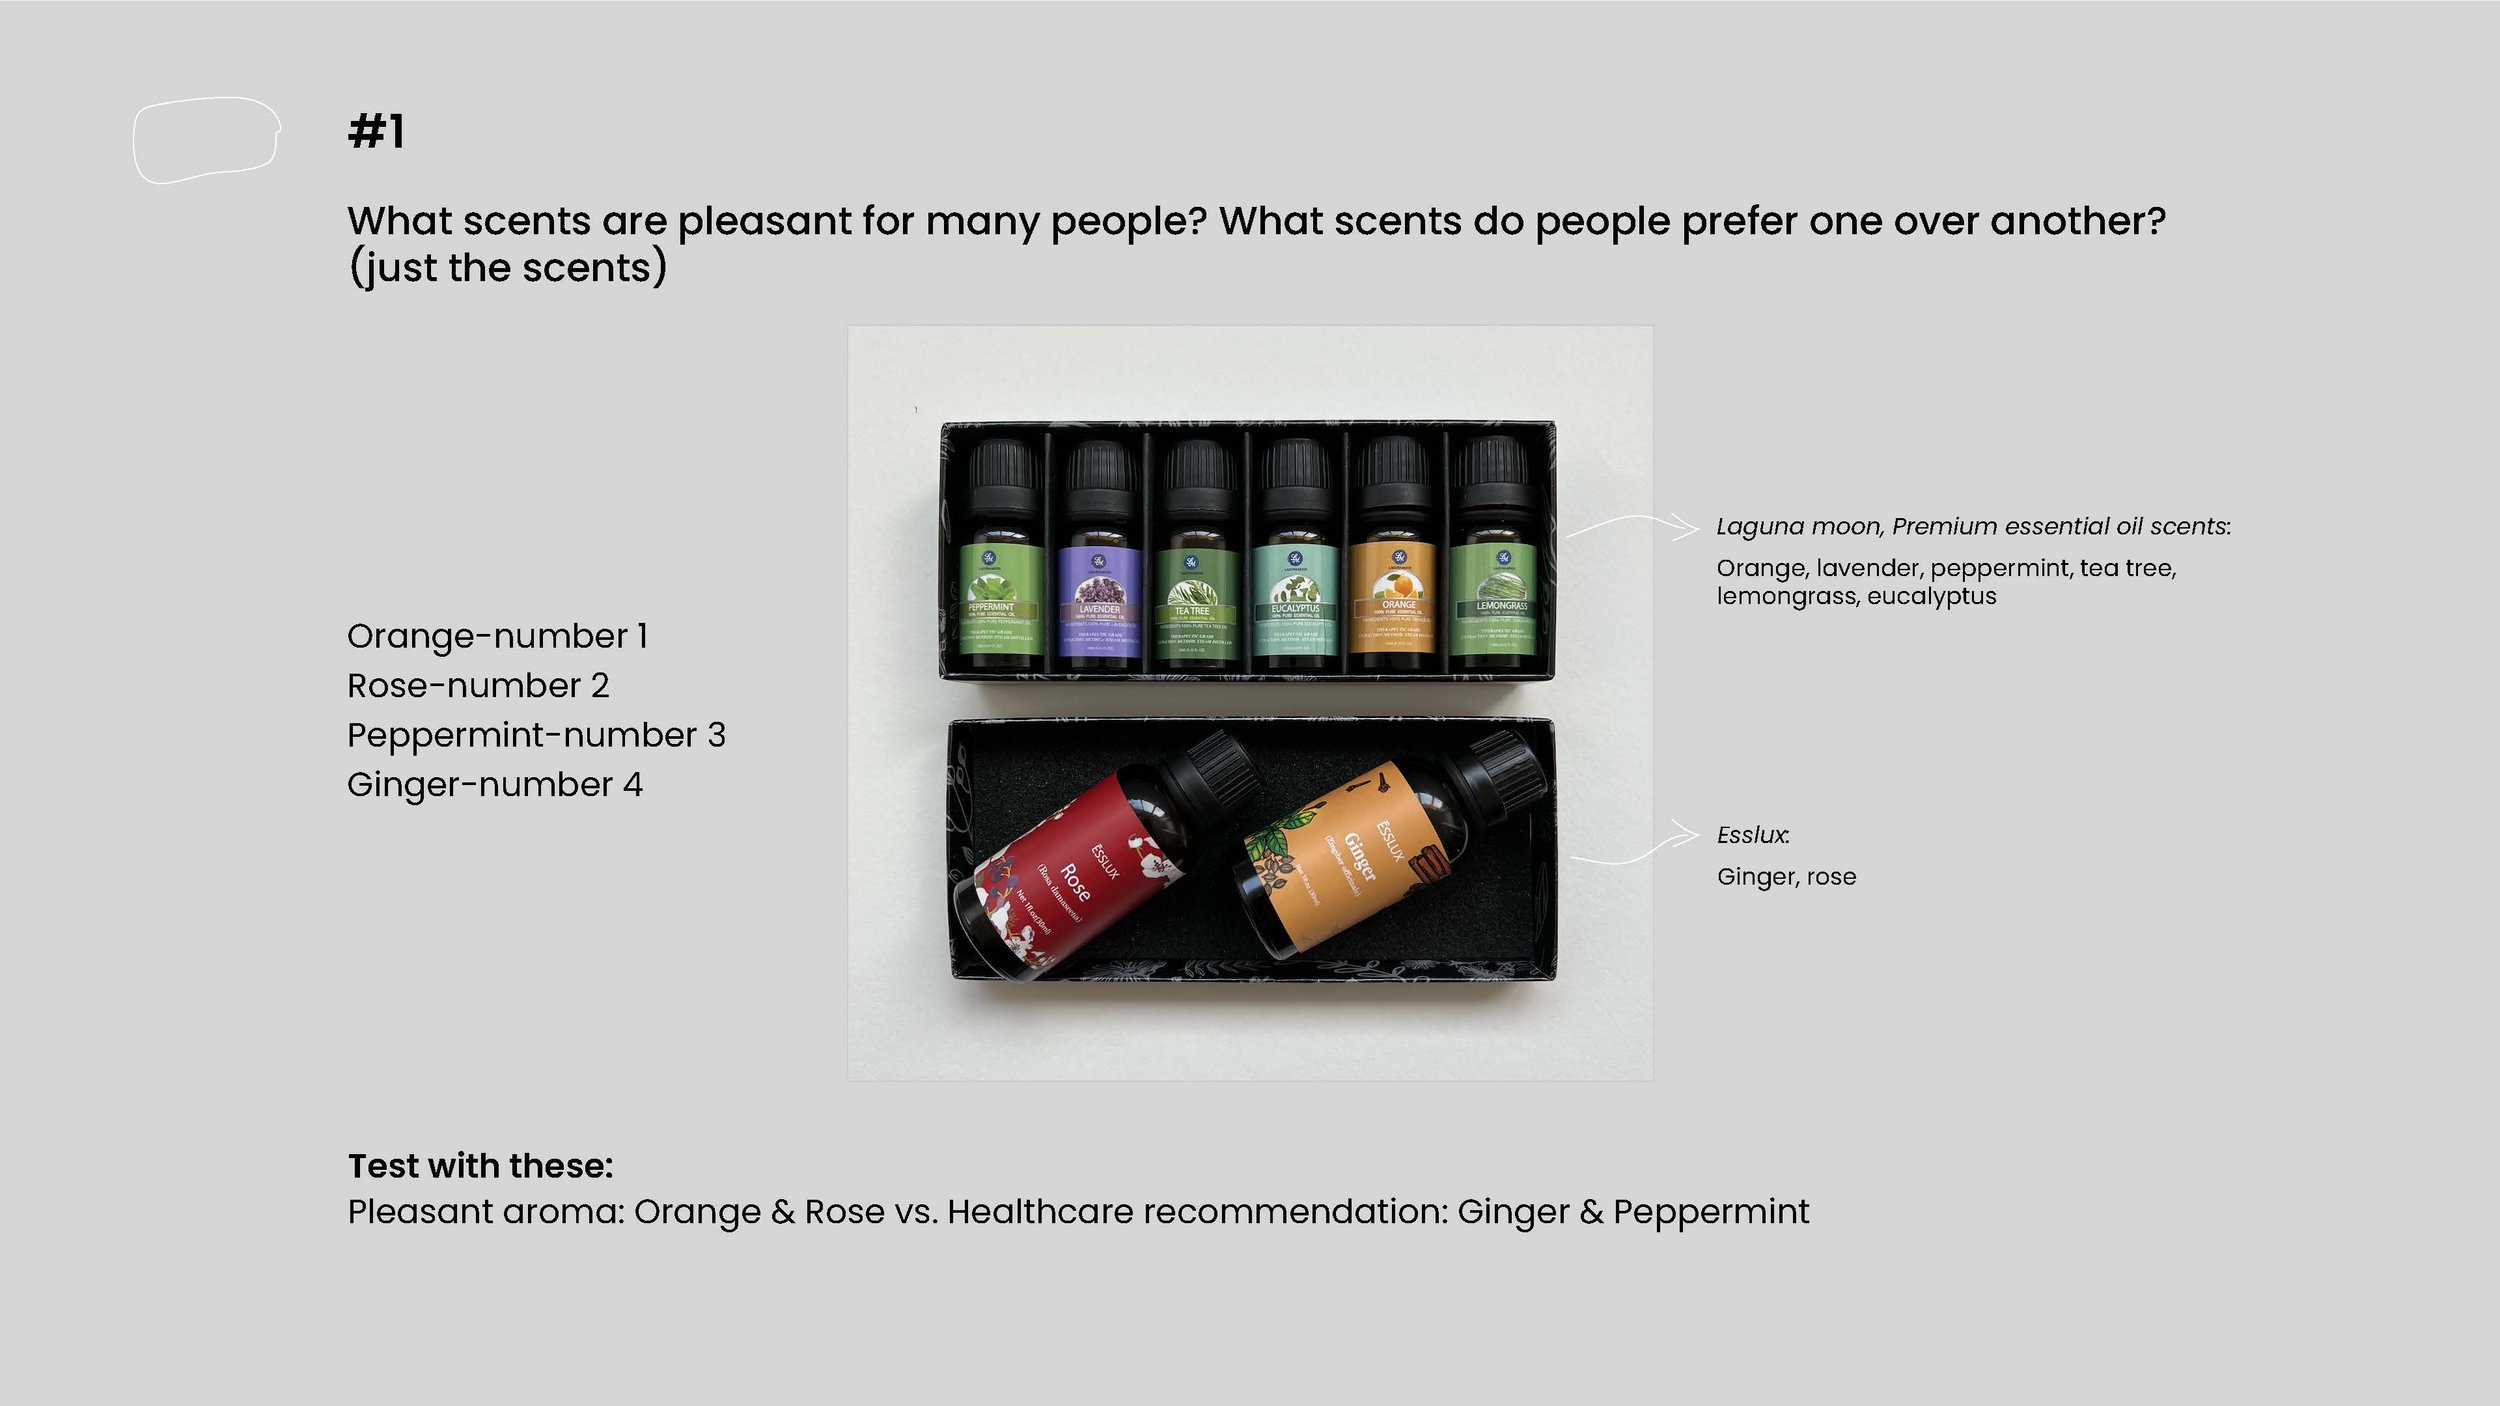
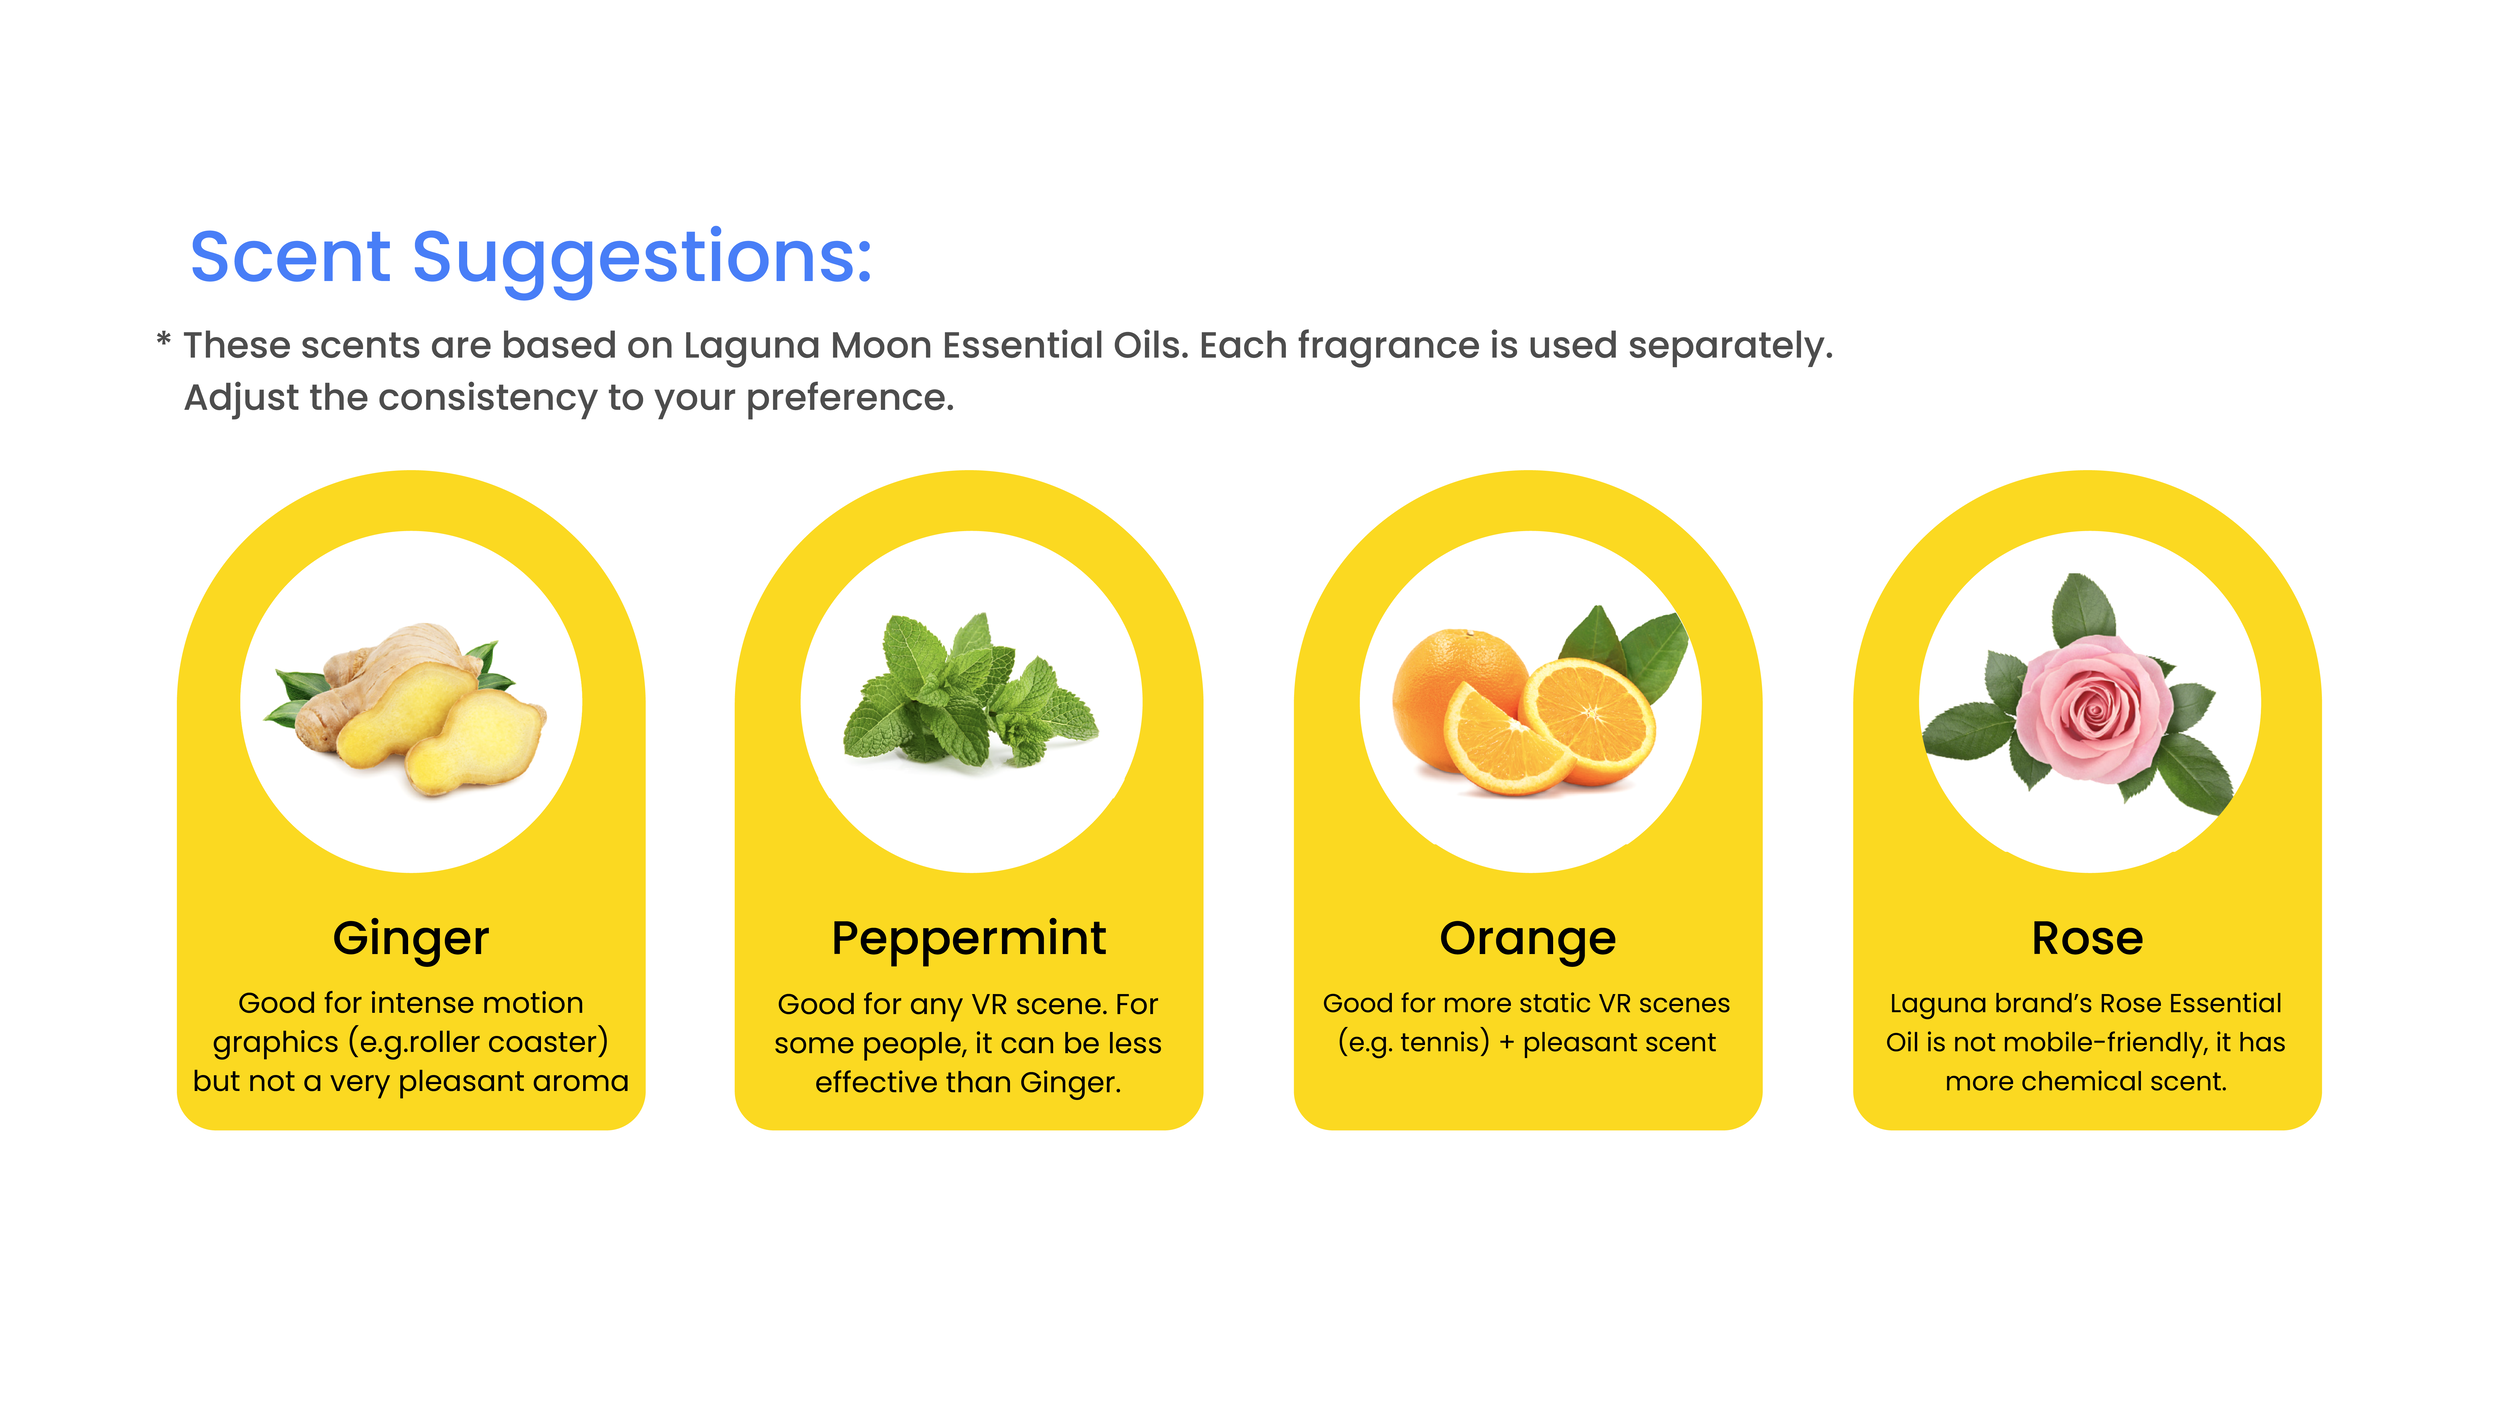
For this study, 17 people participated. I questioned participants individually and analyzed how many people prefer certain scents more than others. Results showed that people prefer non-medical scents. For instance, tea-tree lemongrass had chemical/medical scents that were unpleasant to many. However, this study was not entirely unbiased since picking the aromas is subjective; each individual’s preference differs. Nevertheless, the majority voted for orange, peppermint, rose, and ginger scents from the fragrances above.
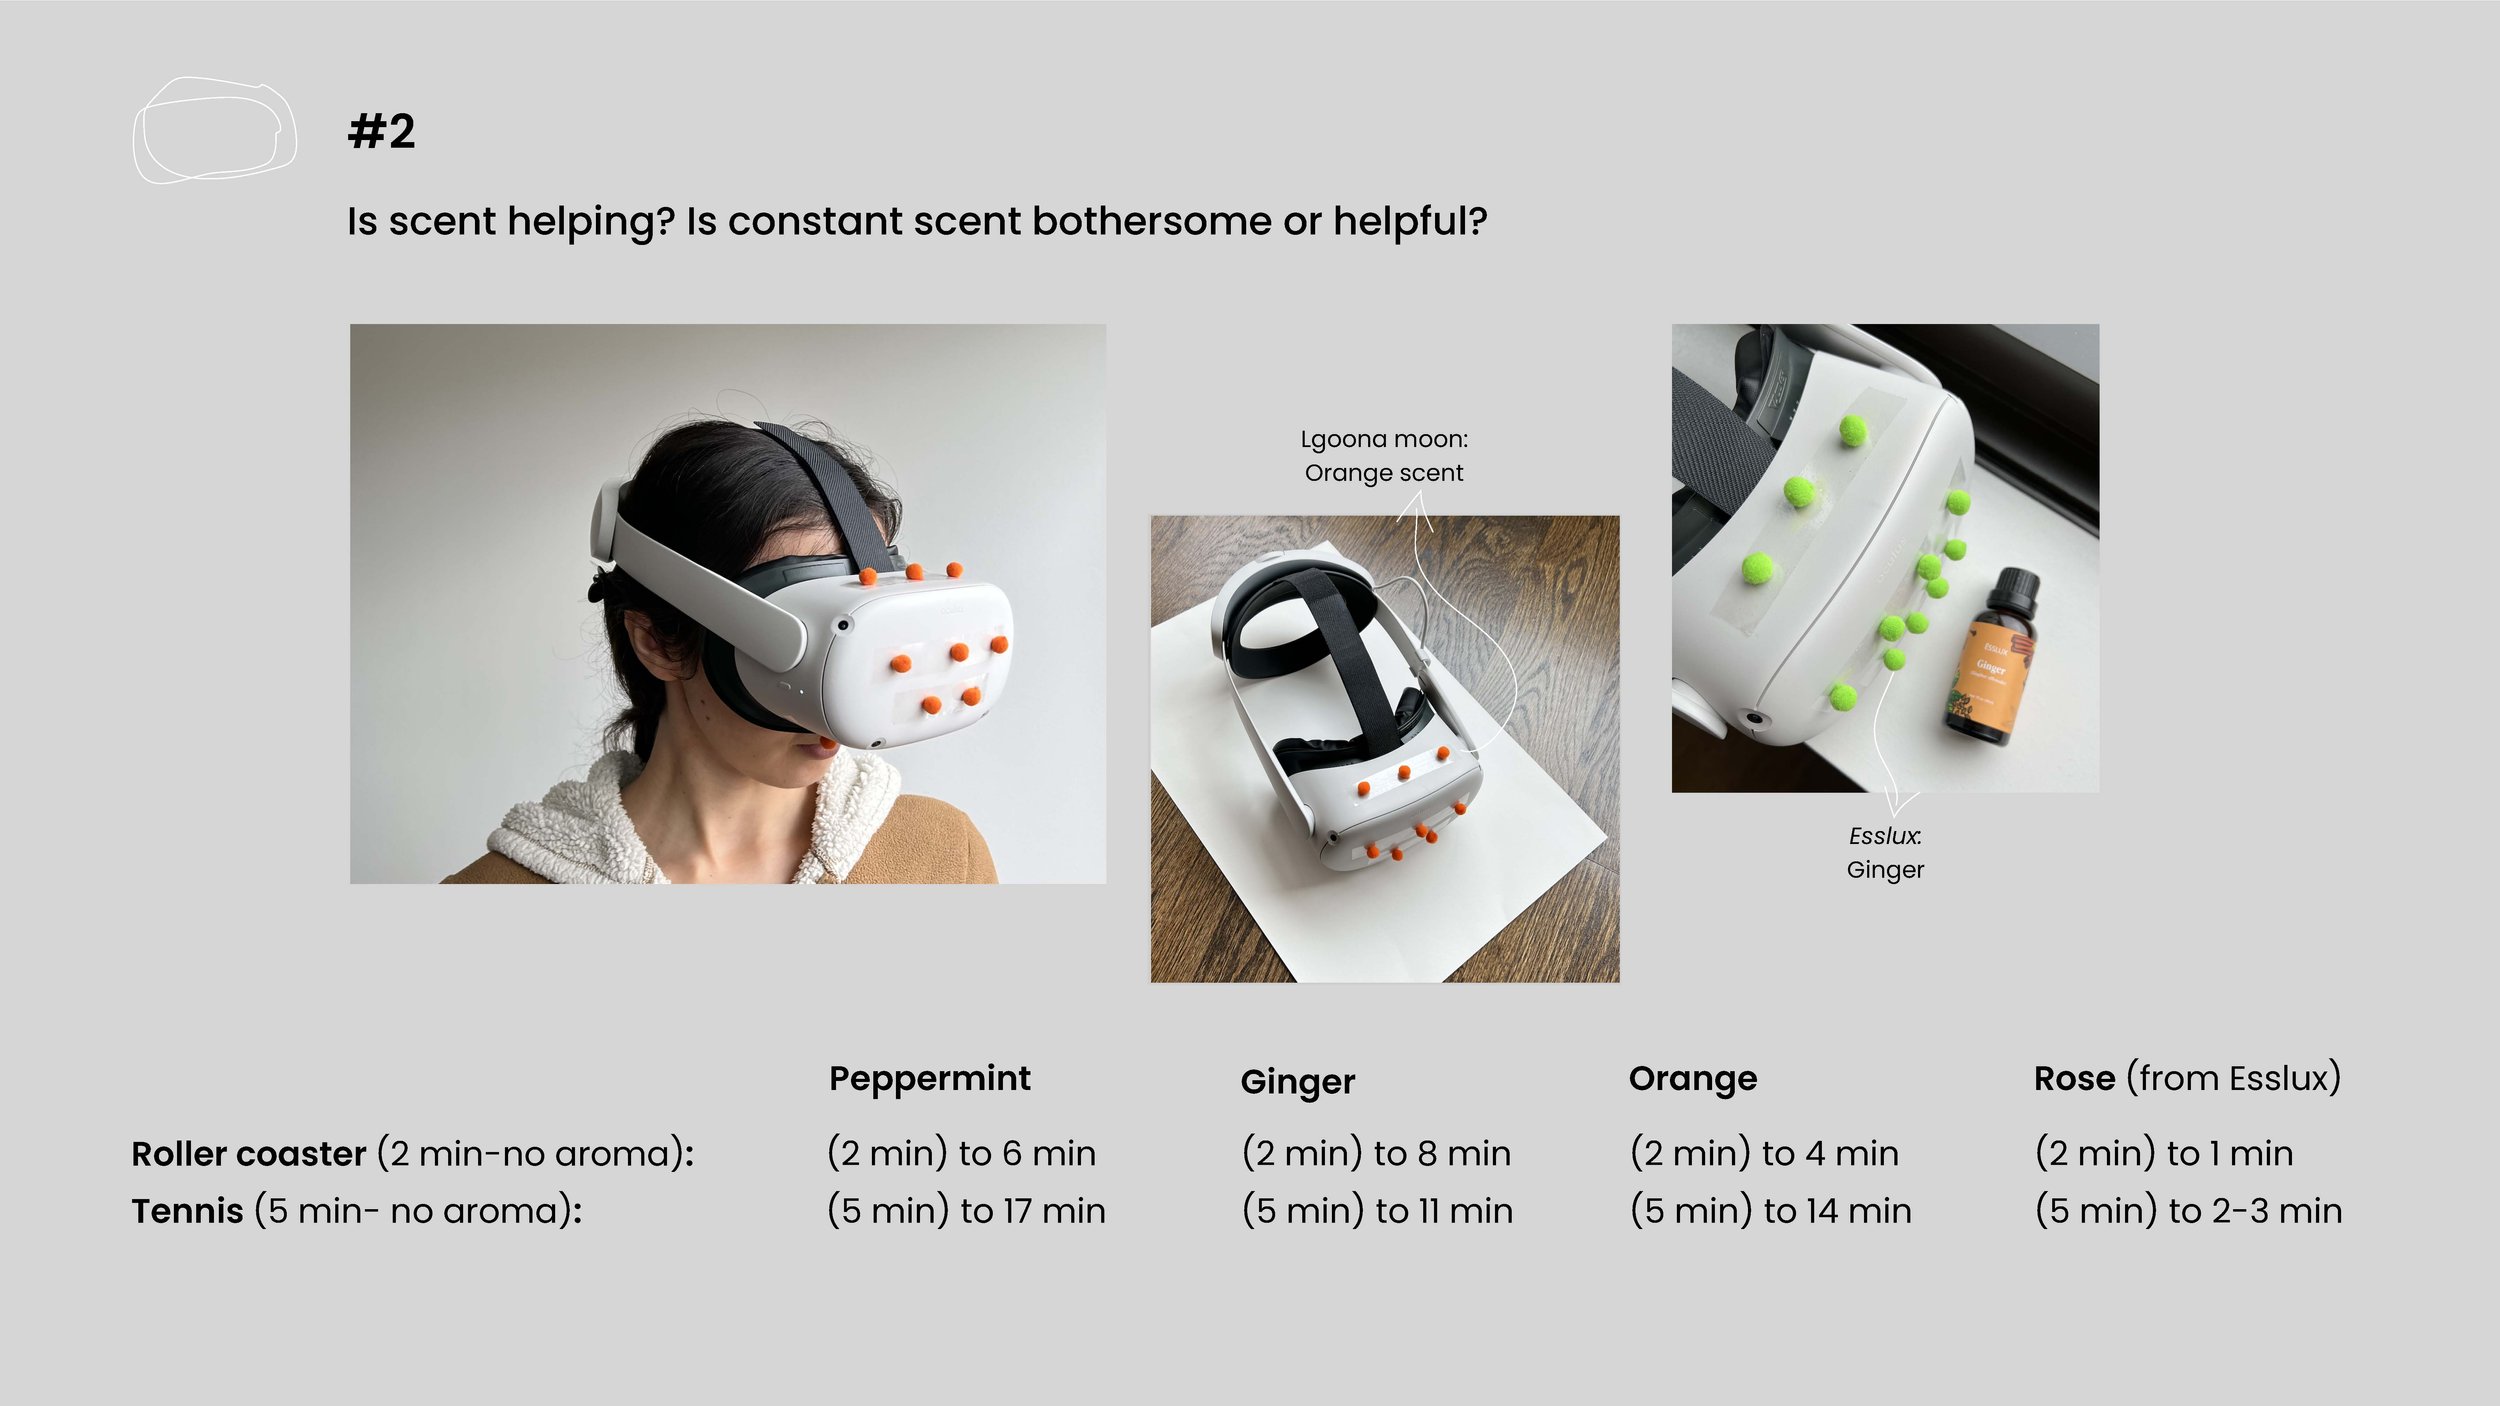
I lightly sprayed oil scents (orange, rose, ginger, peppermint) onto tiny wool balls and stuck them to the headset so it did not have a heavy smell; each scent was tested separately. However, it is essential to note that users were exposed to constant scent and the level of discomfort and time differs depending on what kind of scent (brand) is used.
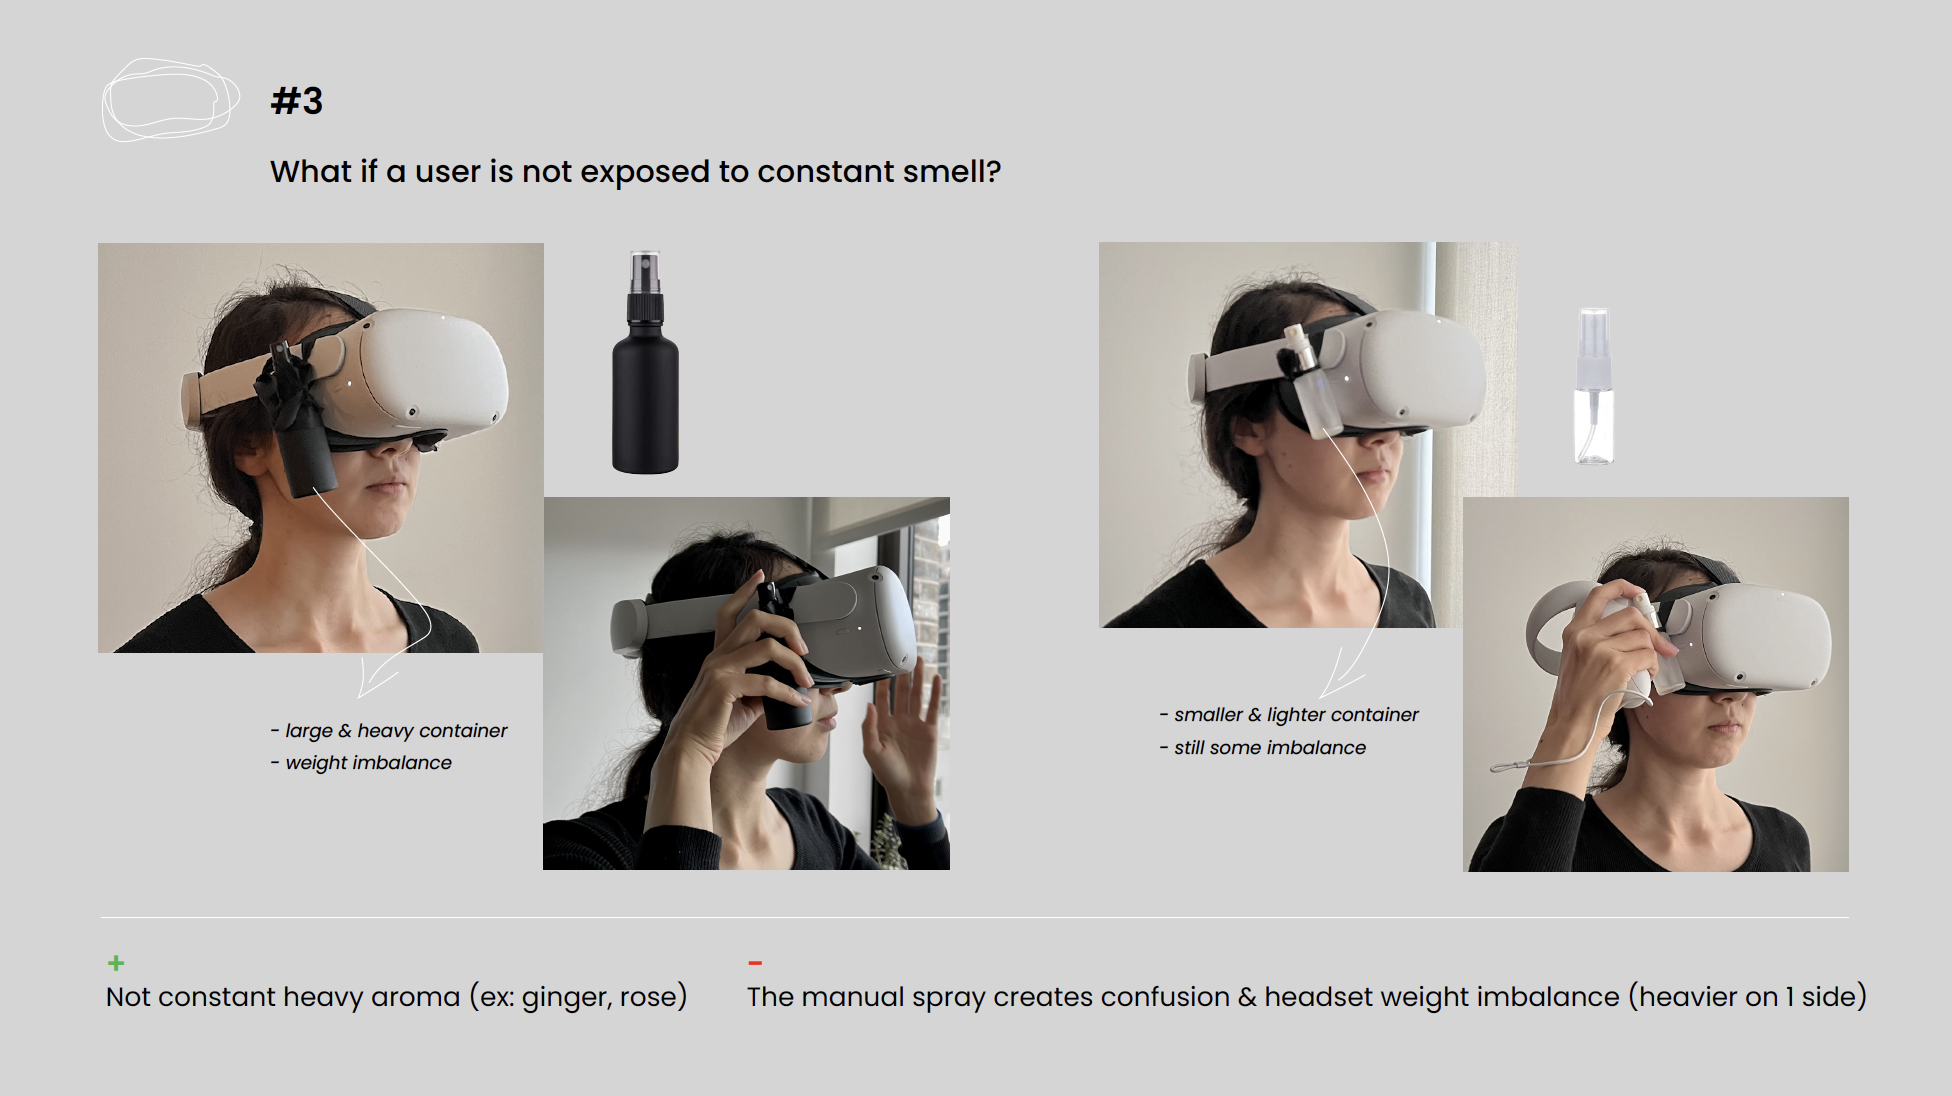
Spraying scent manually was challenging for the users: it was confusing because the user did not see where exactly the spray ‘head’ was, so they had to figure out the spatial orientation of the spray by touching with fingers and pushing the cap to spray the scent.
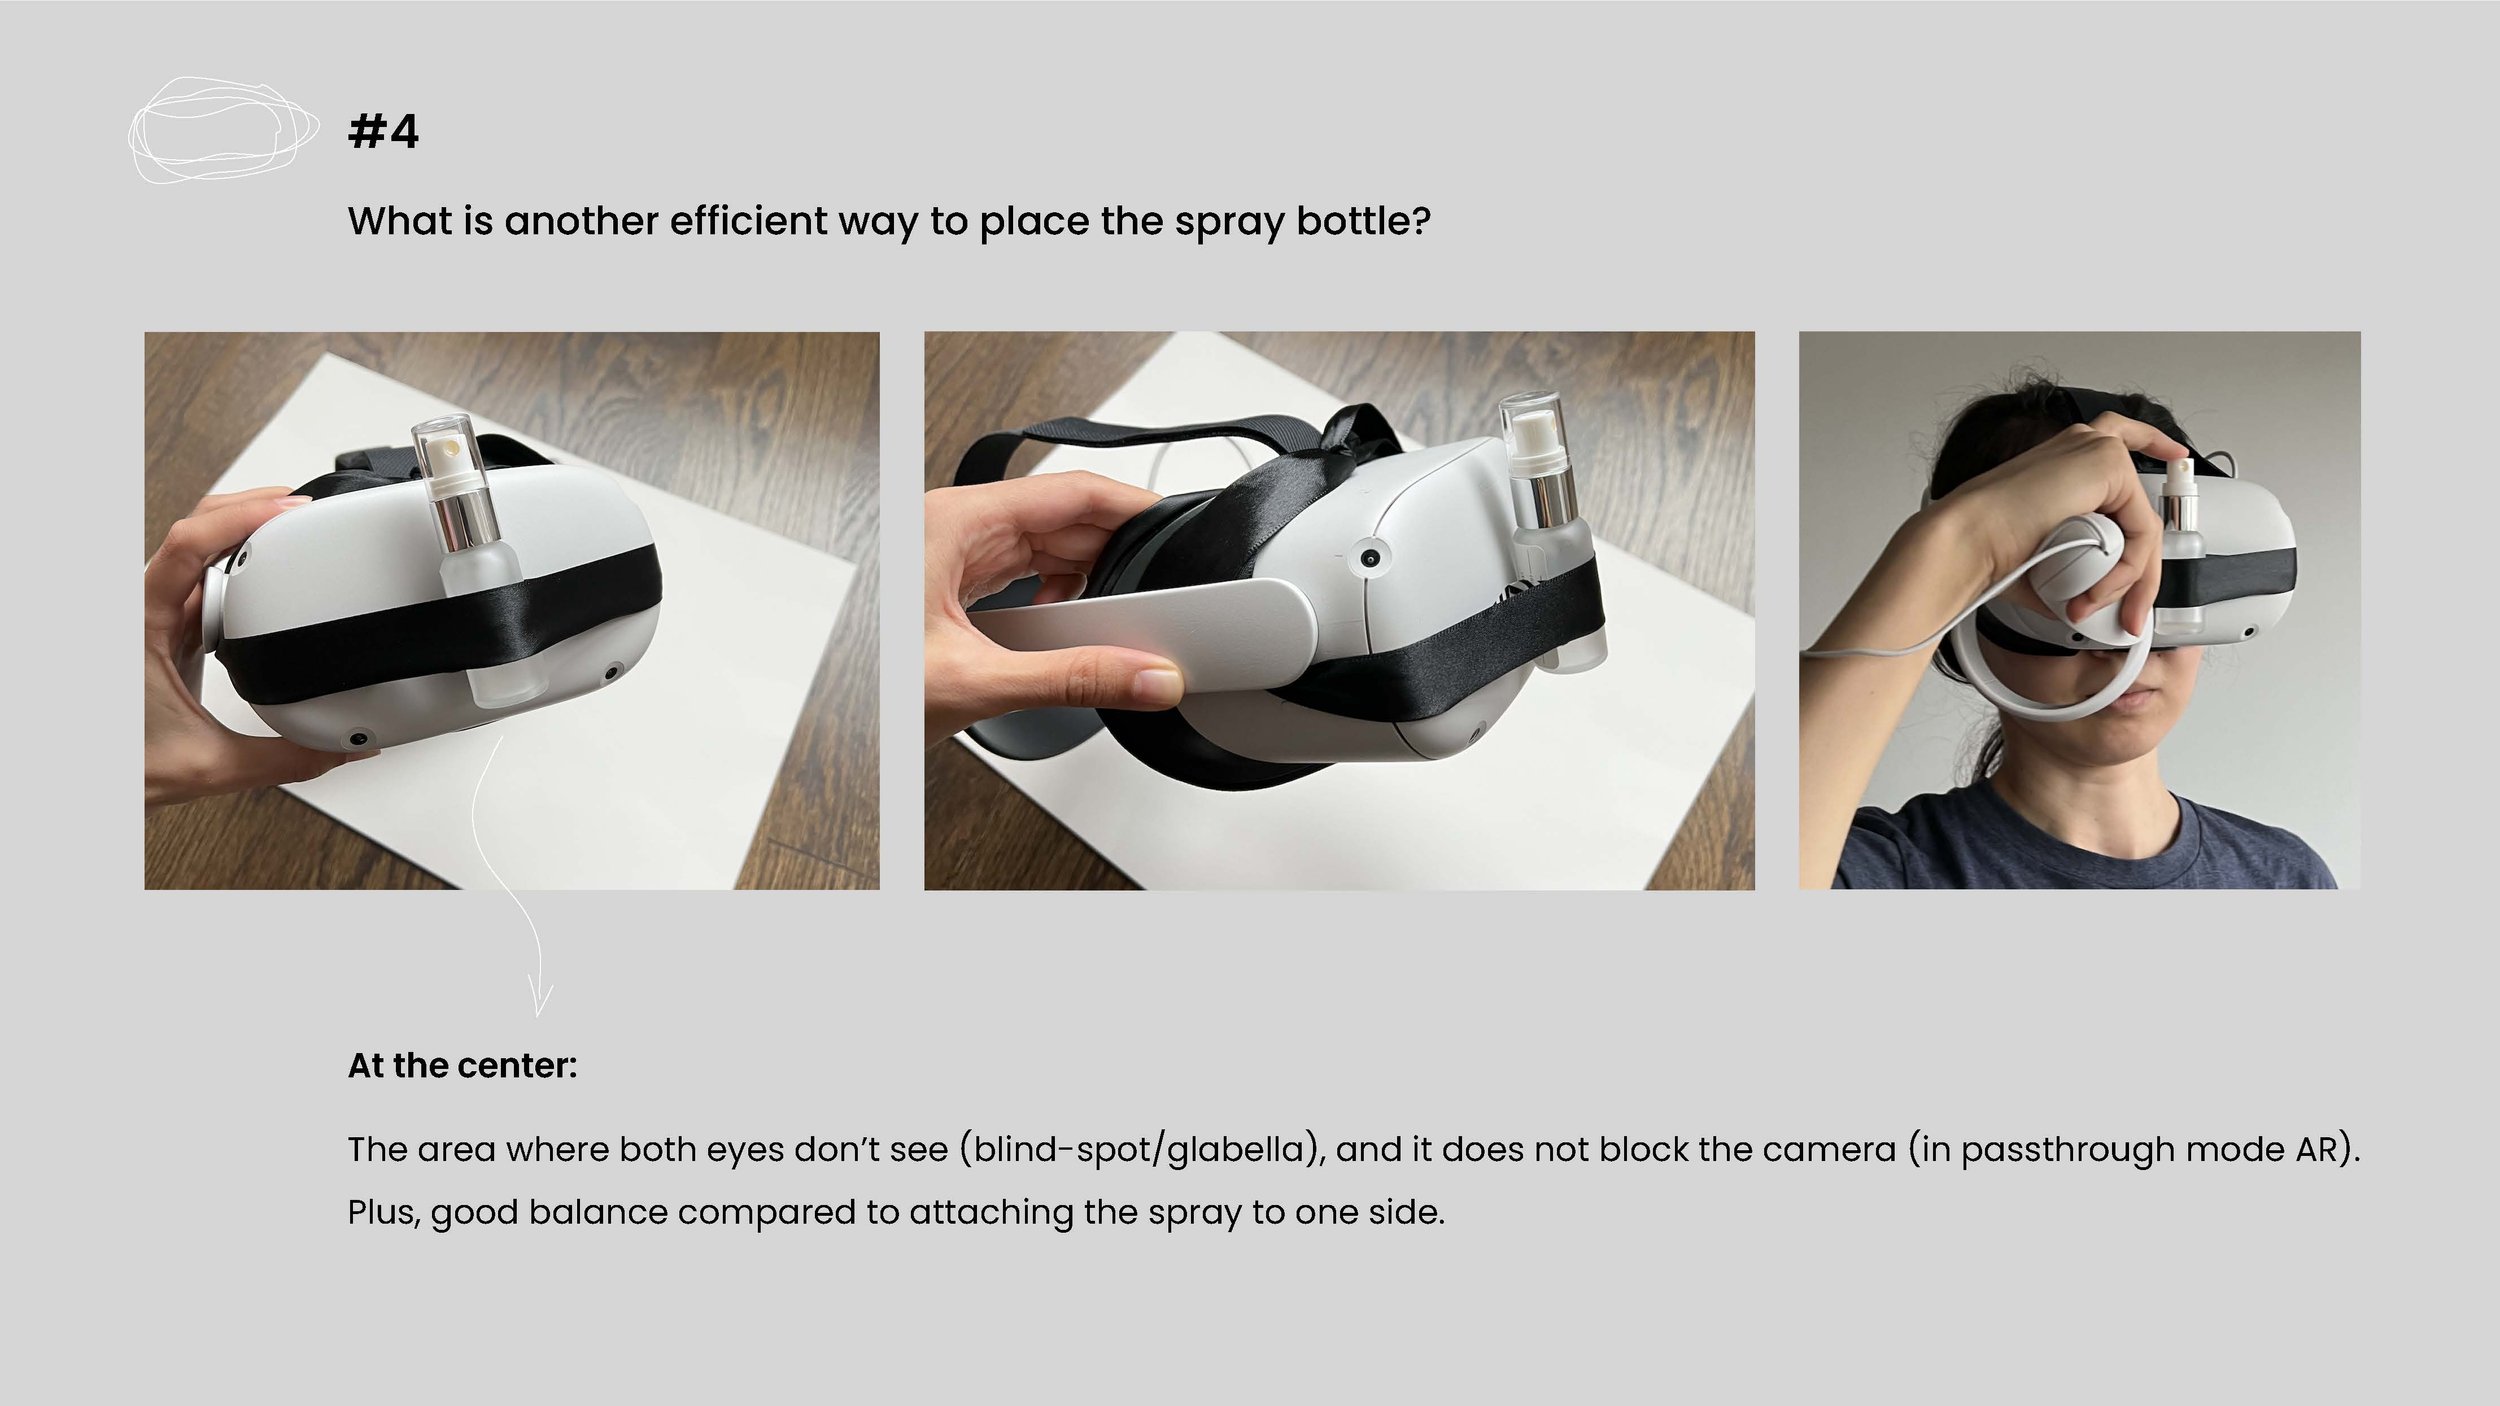
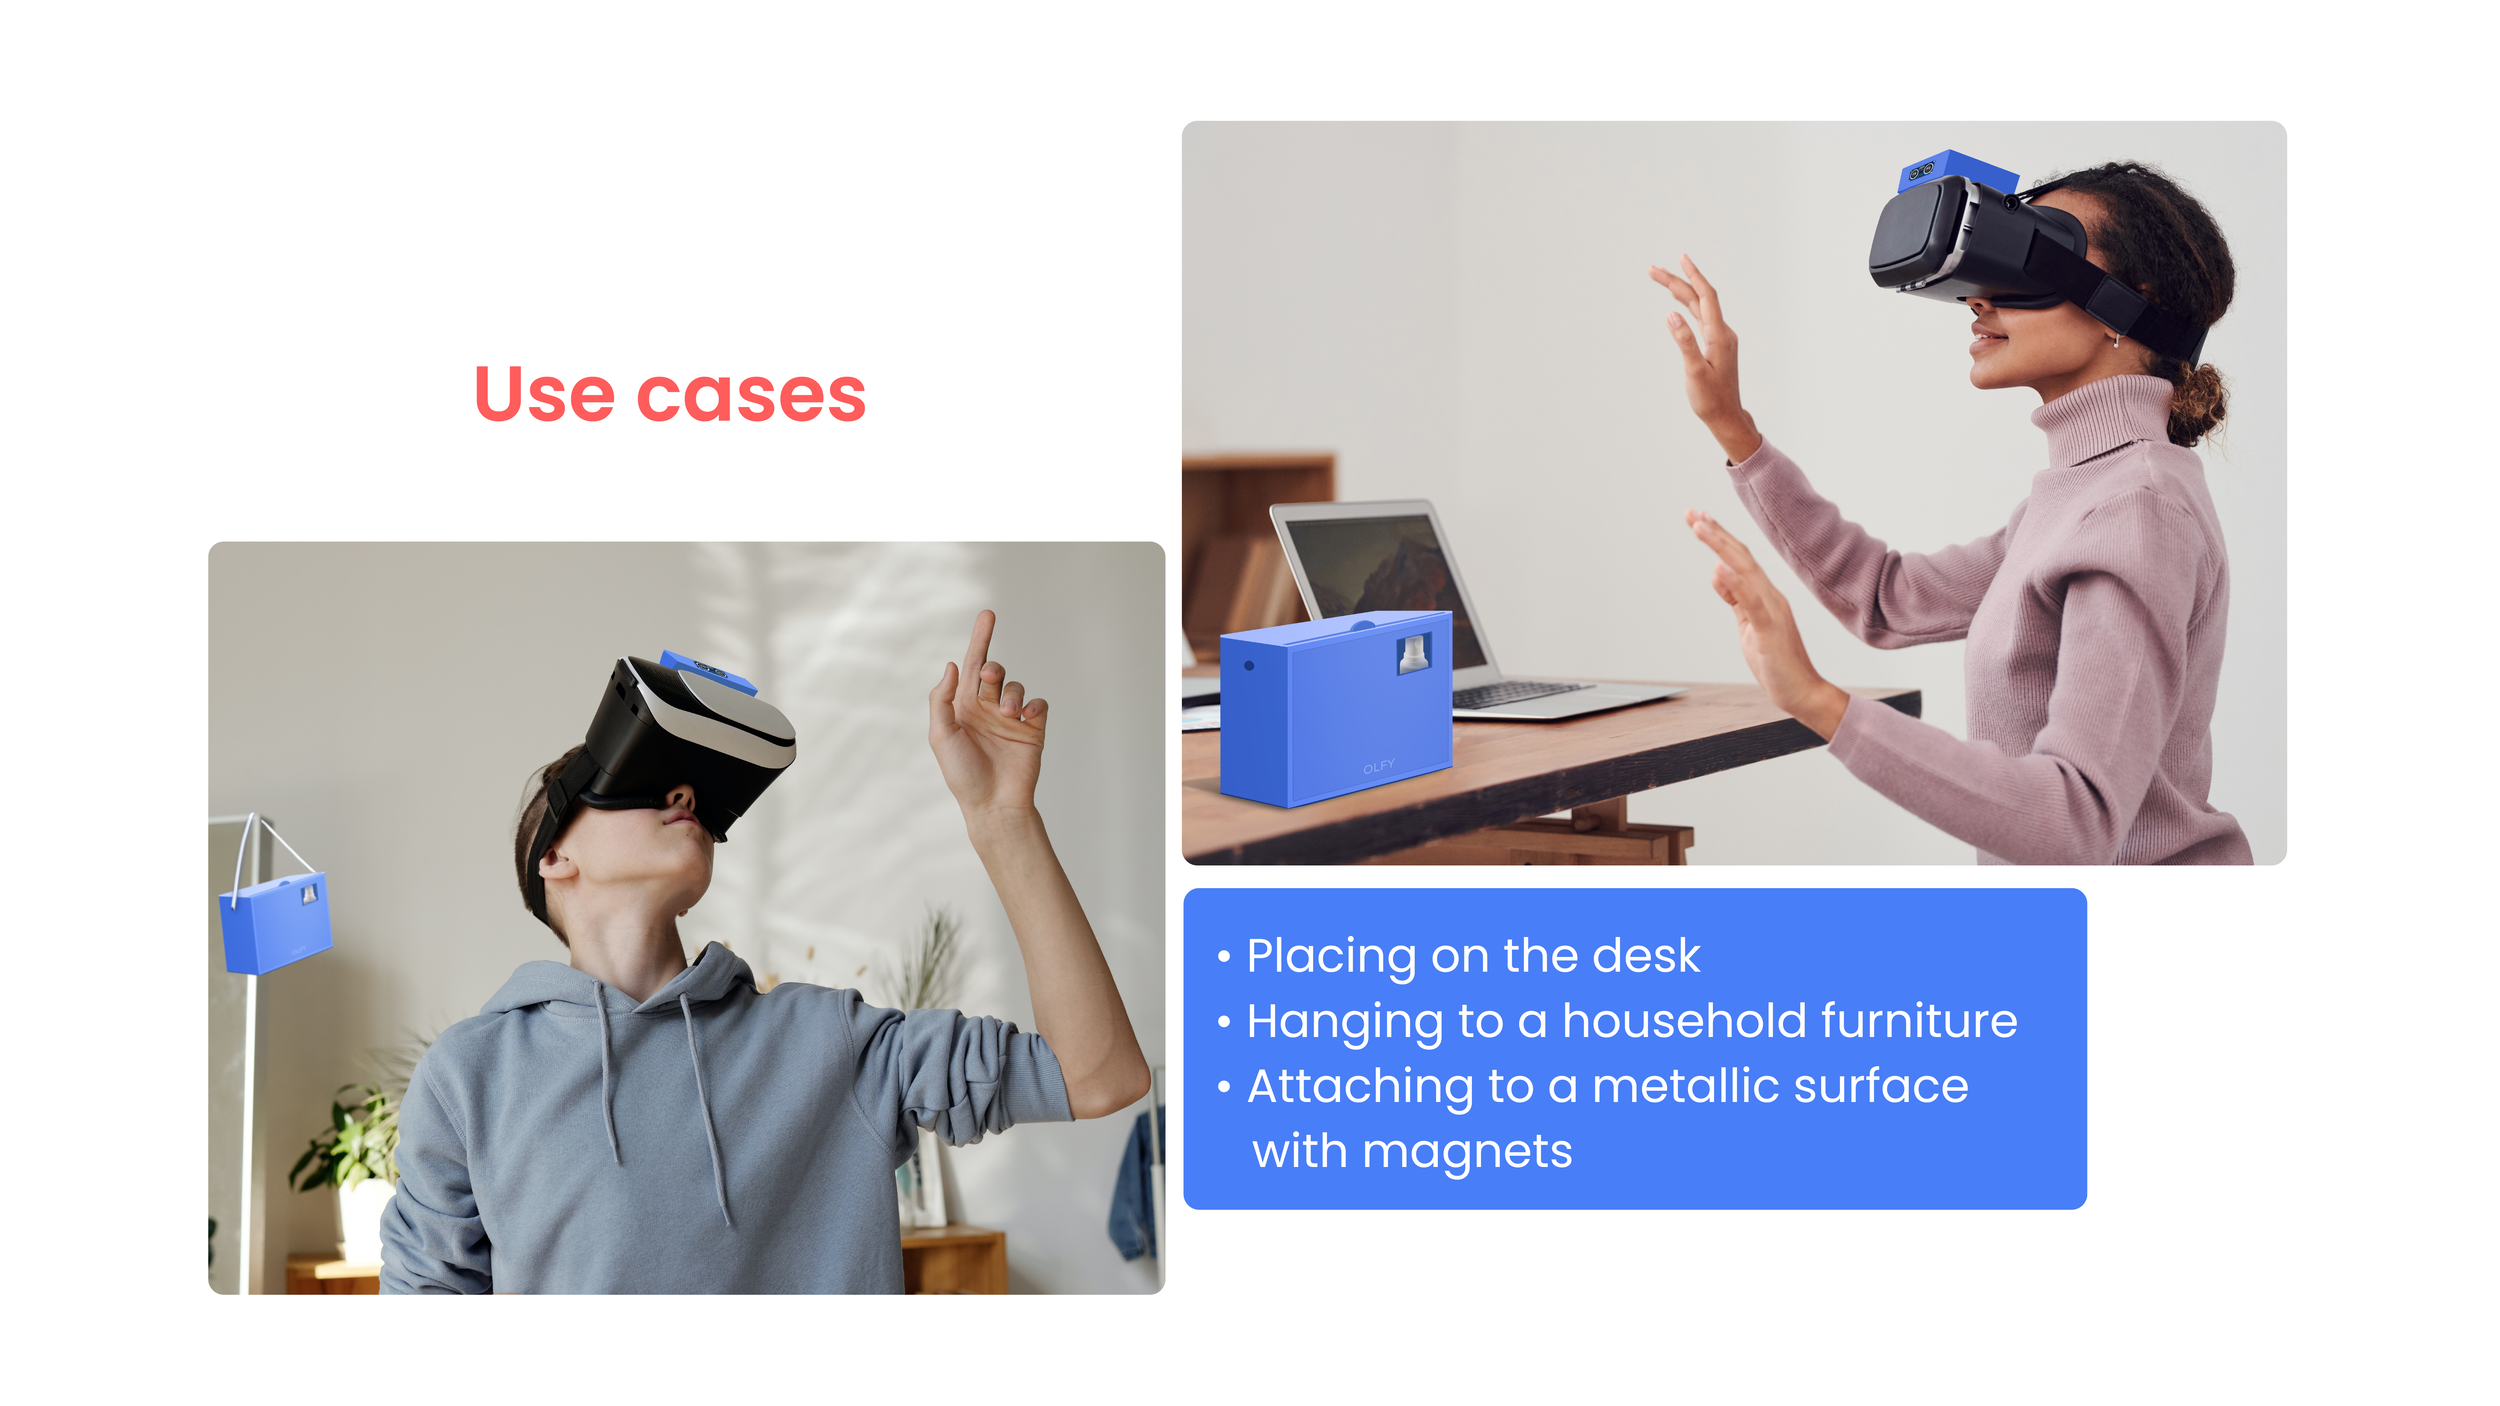
I explored other options to attach the spray to the headset on day 4 of prototyping. One option was to attach the spray in front and at the center of the headset, the area where both eyes don’t see, blind-spot/glabella, and it does not block the camera in passthrough AR mode. Plus, it was more balanced than attaching the spray to one side. However, this was only a spray bottle, it’s challenging to attach it to the front if I make it an automatic spray because there would be more Arduino components next to the spray, and it blocks the camera if placed in front. So, putting it at the top of the headset was a more suitable solution.
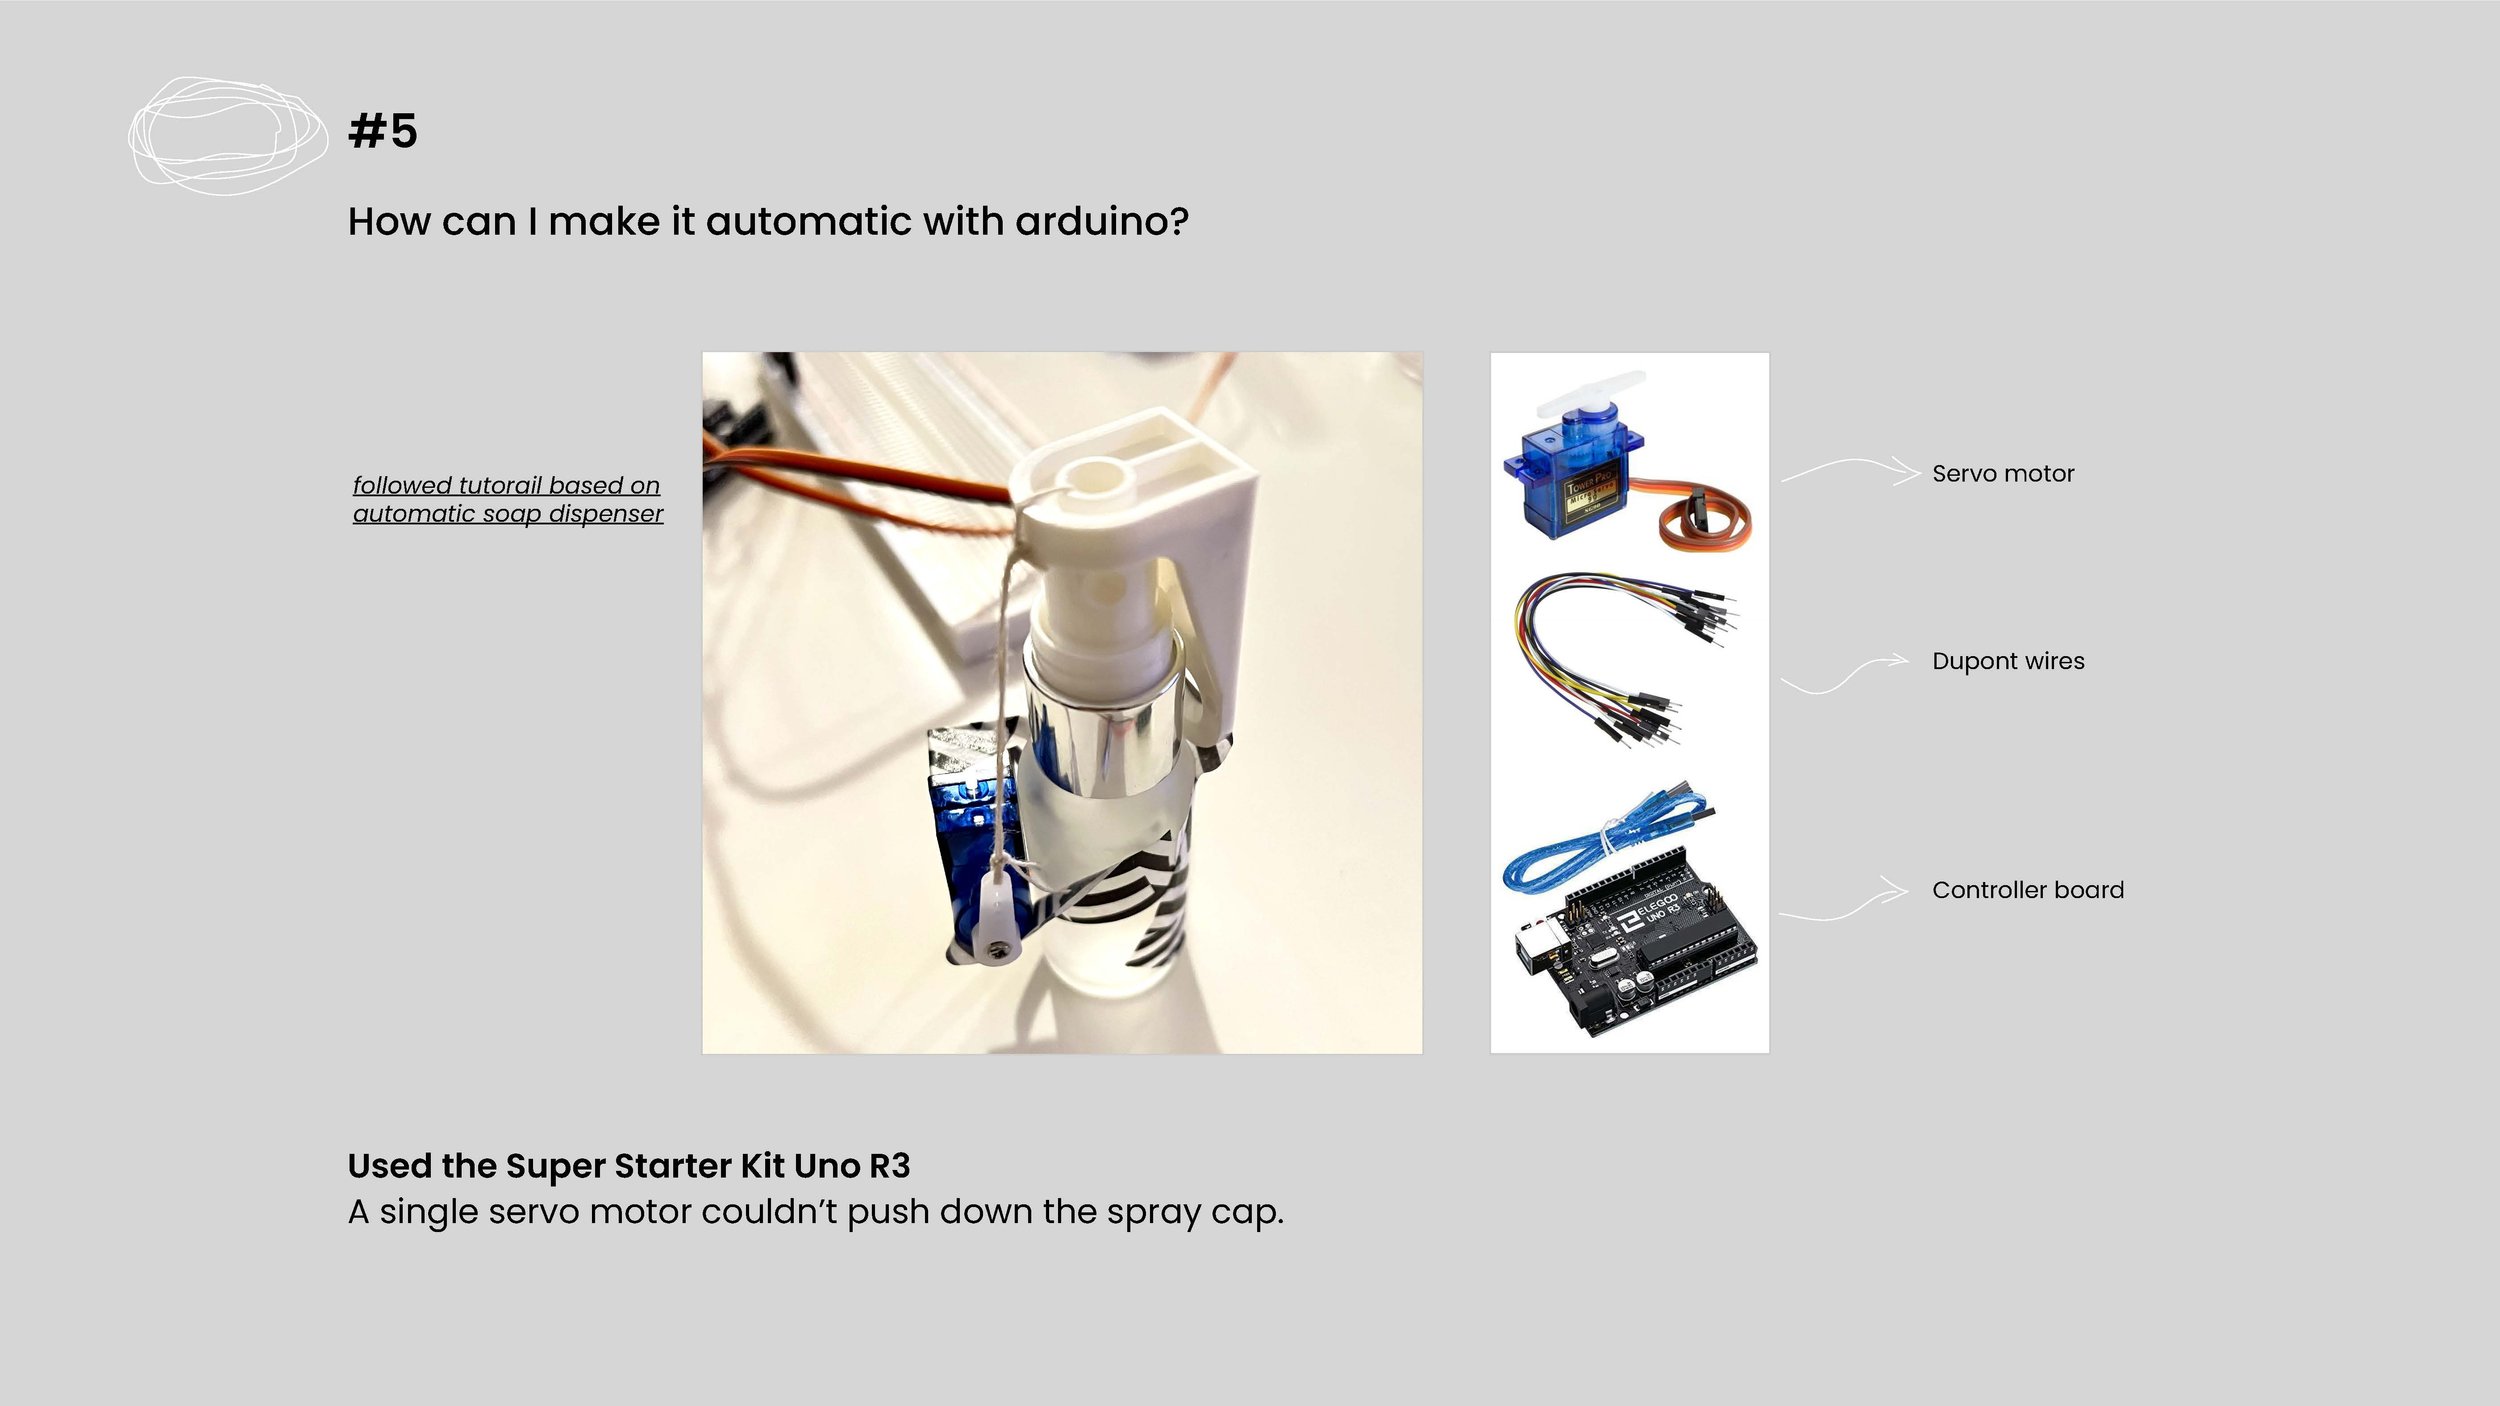
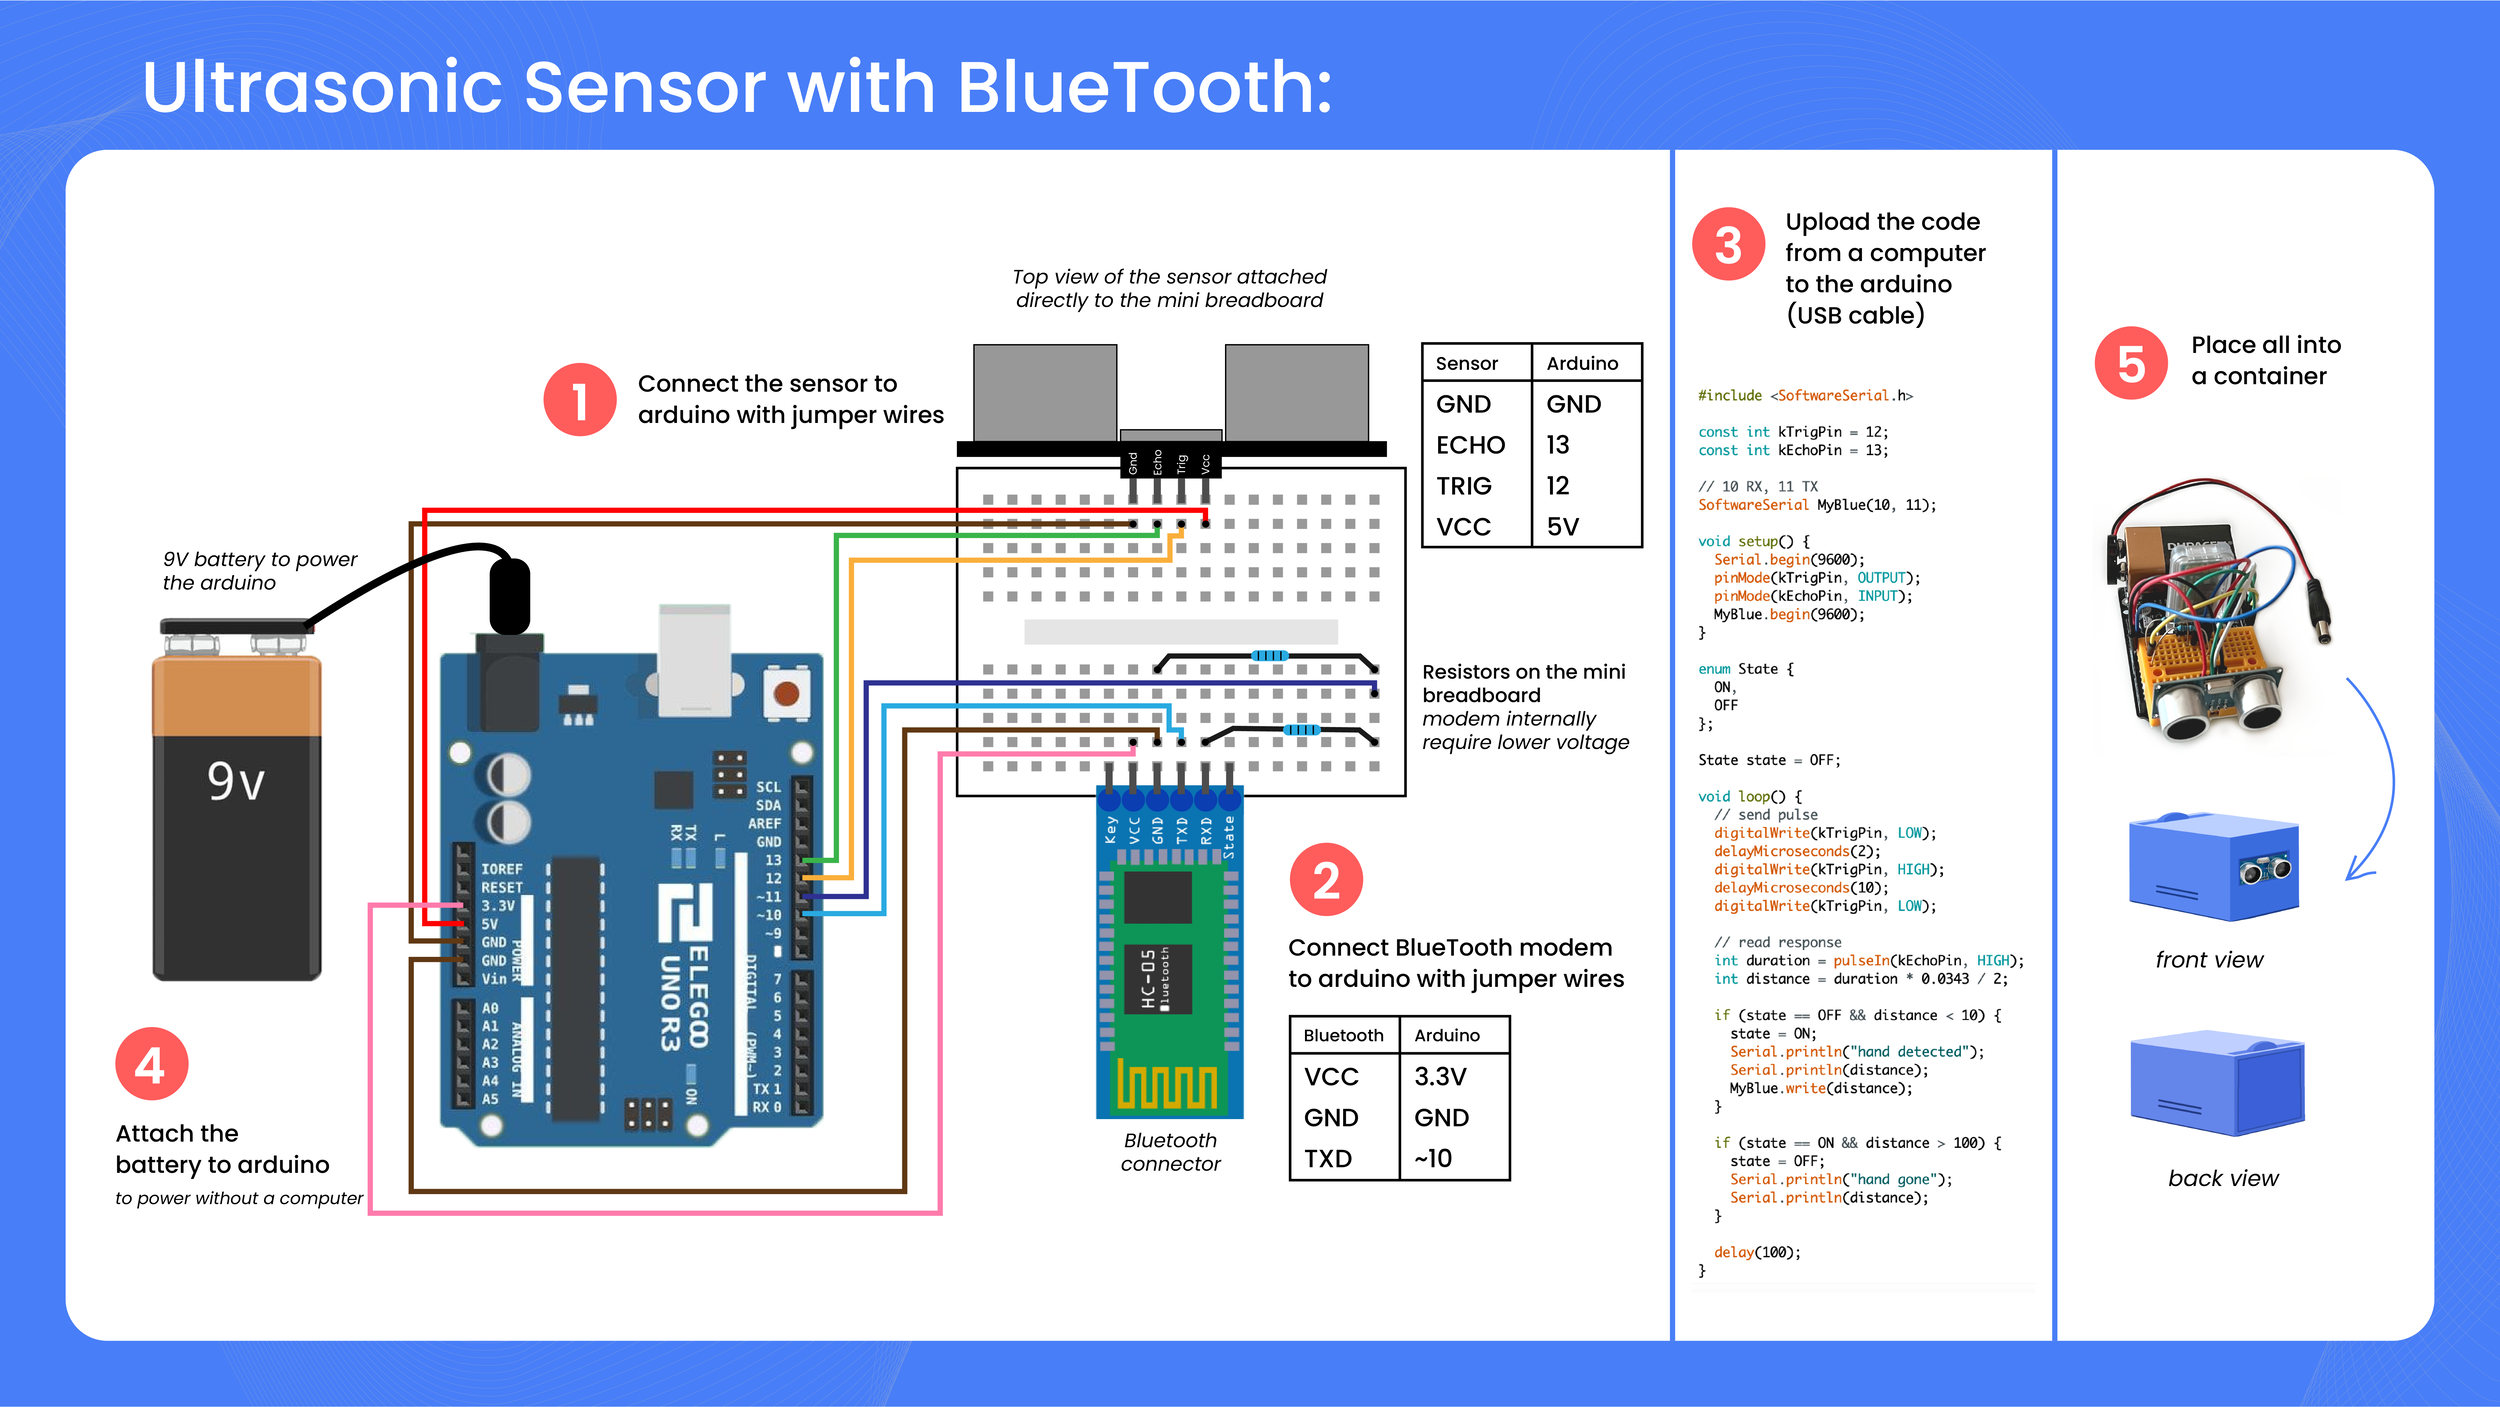
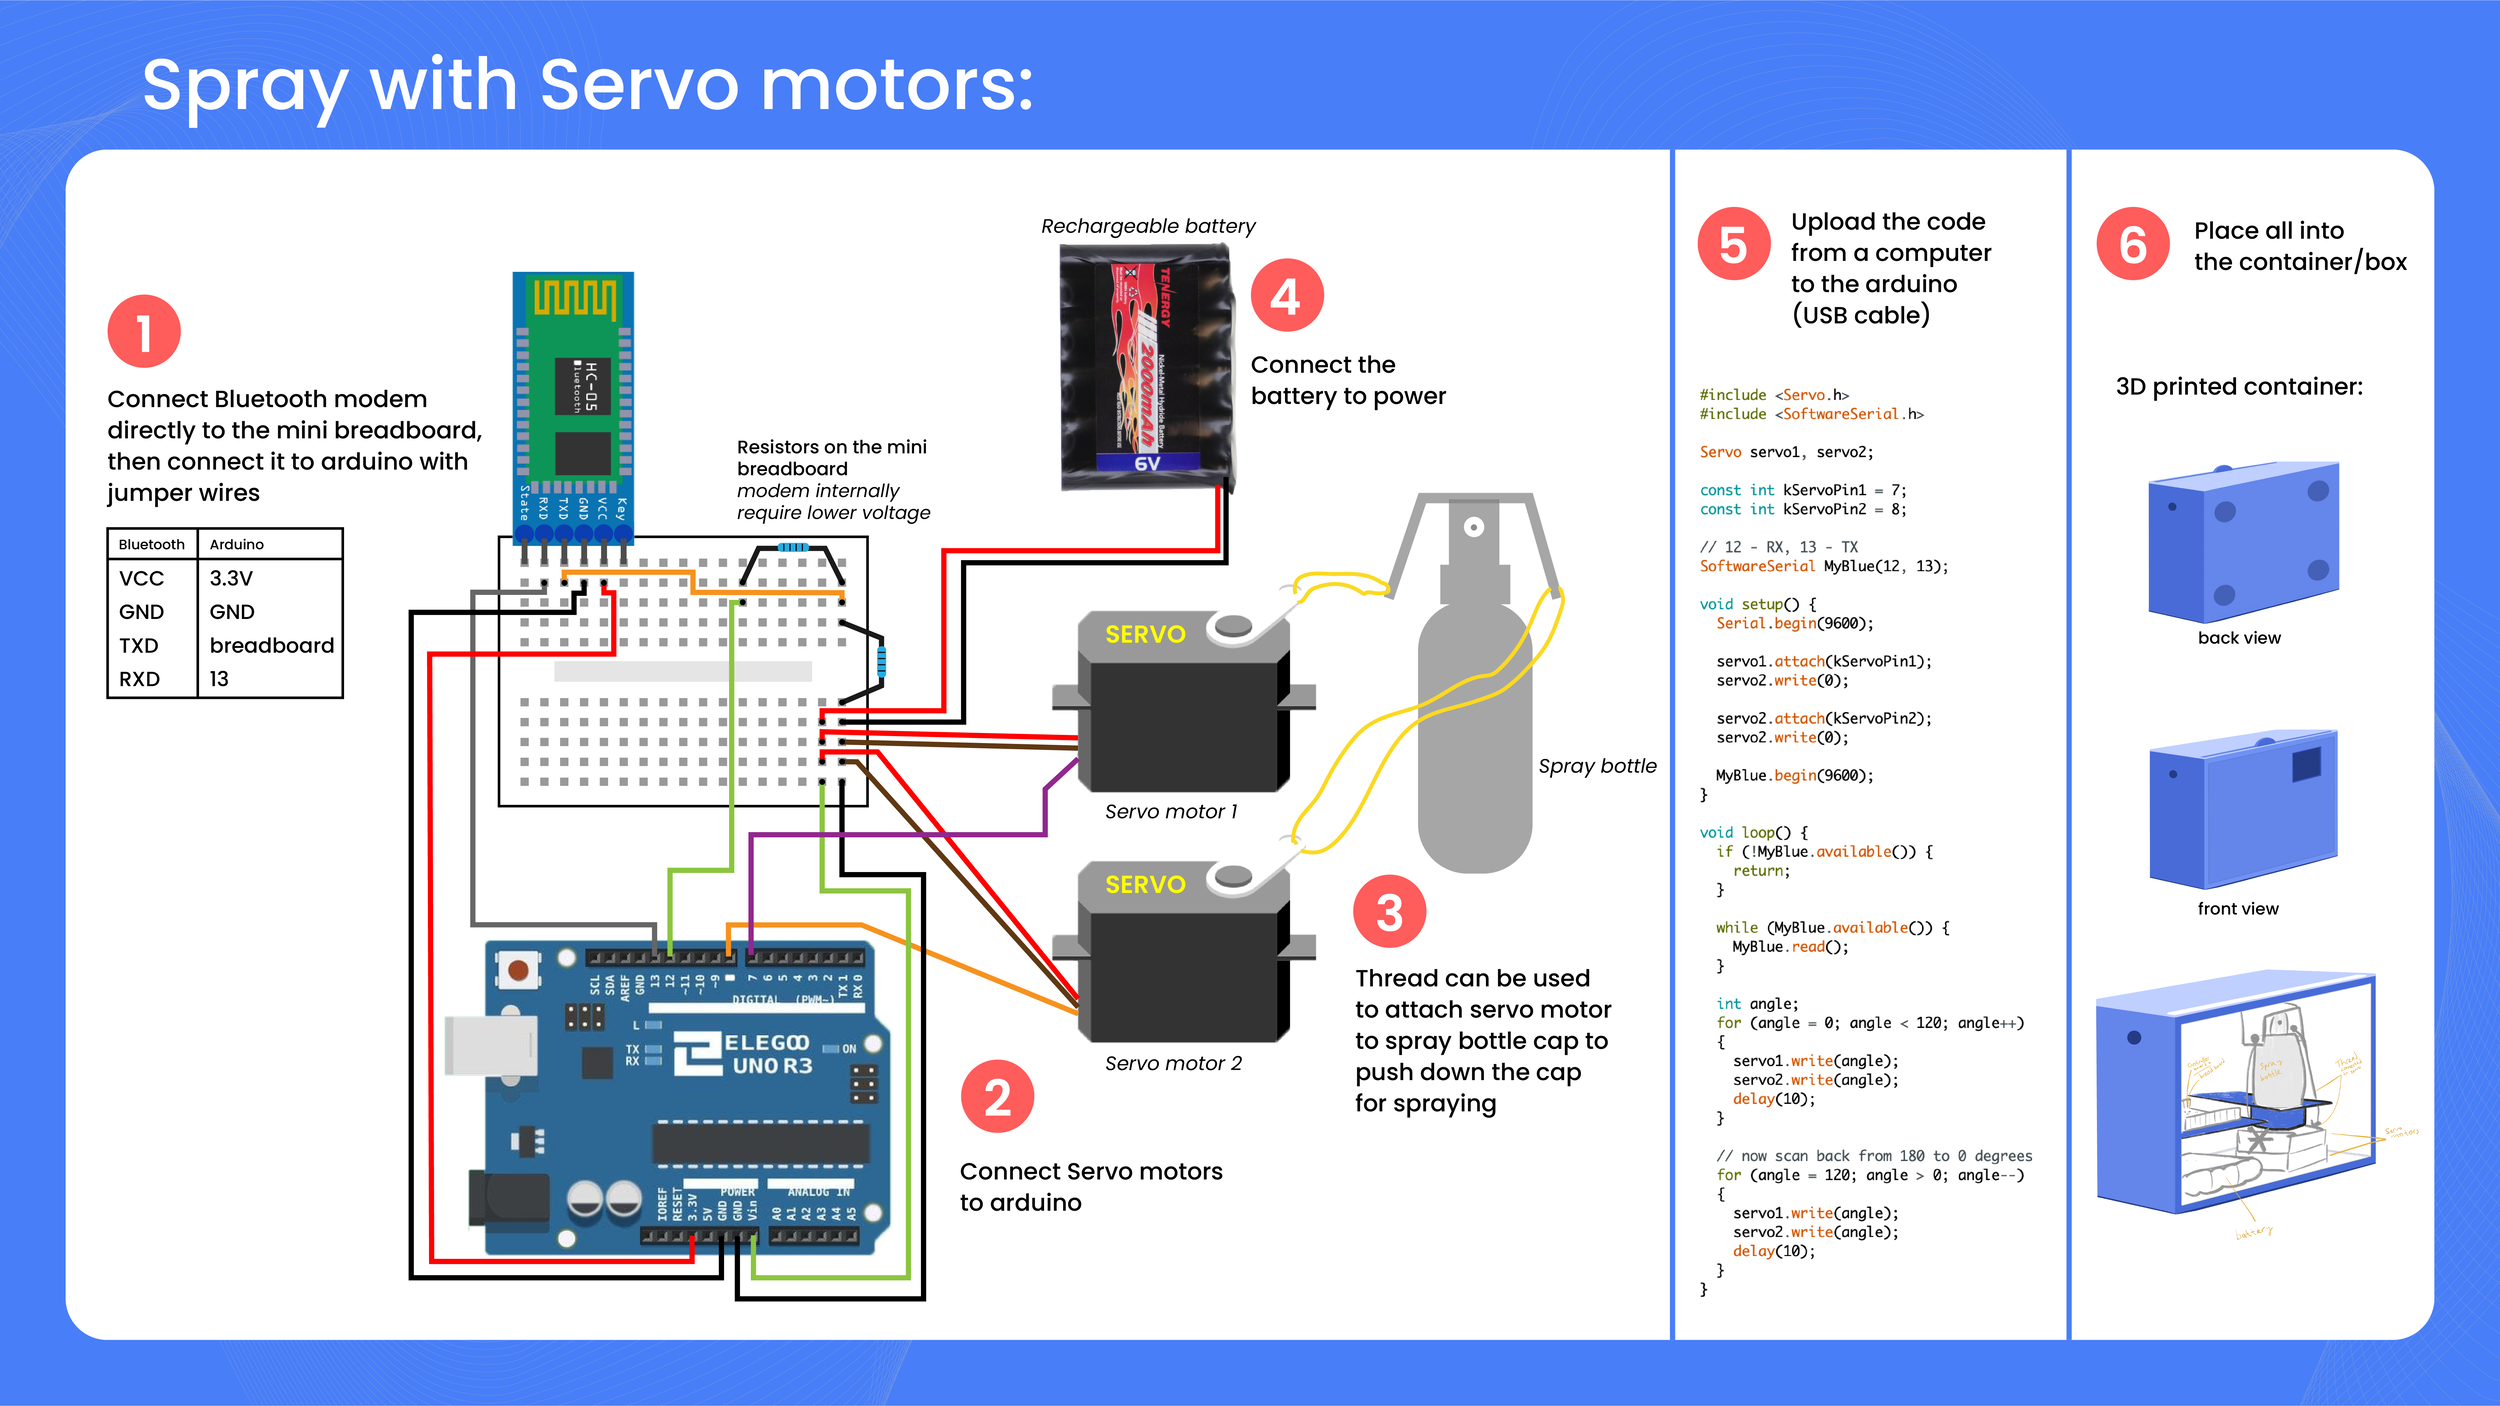
I wanted to know how to spray scent automatically with an Arduino. I used a super starter Arduino kit uno R3, and it had all the basic components. Since it was my first time learning/using an Arduino, I followed tutorials on youtube to create my automatic scent dispenser. In this prototype, I used one servo motor that came in the kit, and it did not have enough strength to push down the spray bottle cap. From this prototype, I learned the basic mechanics of using Arduino.
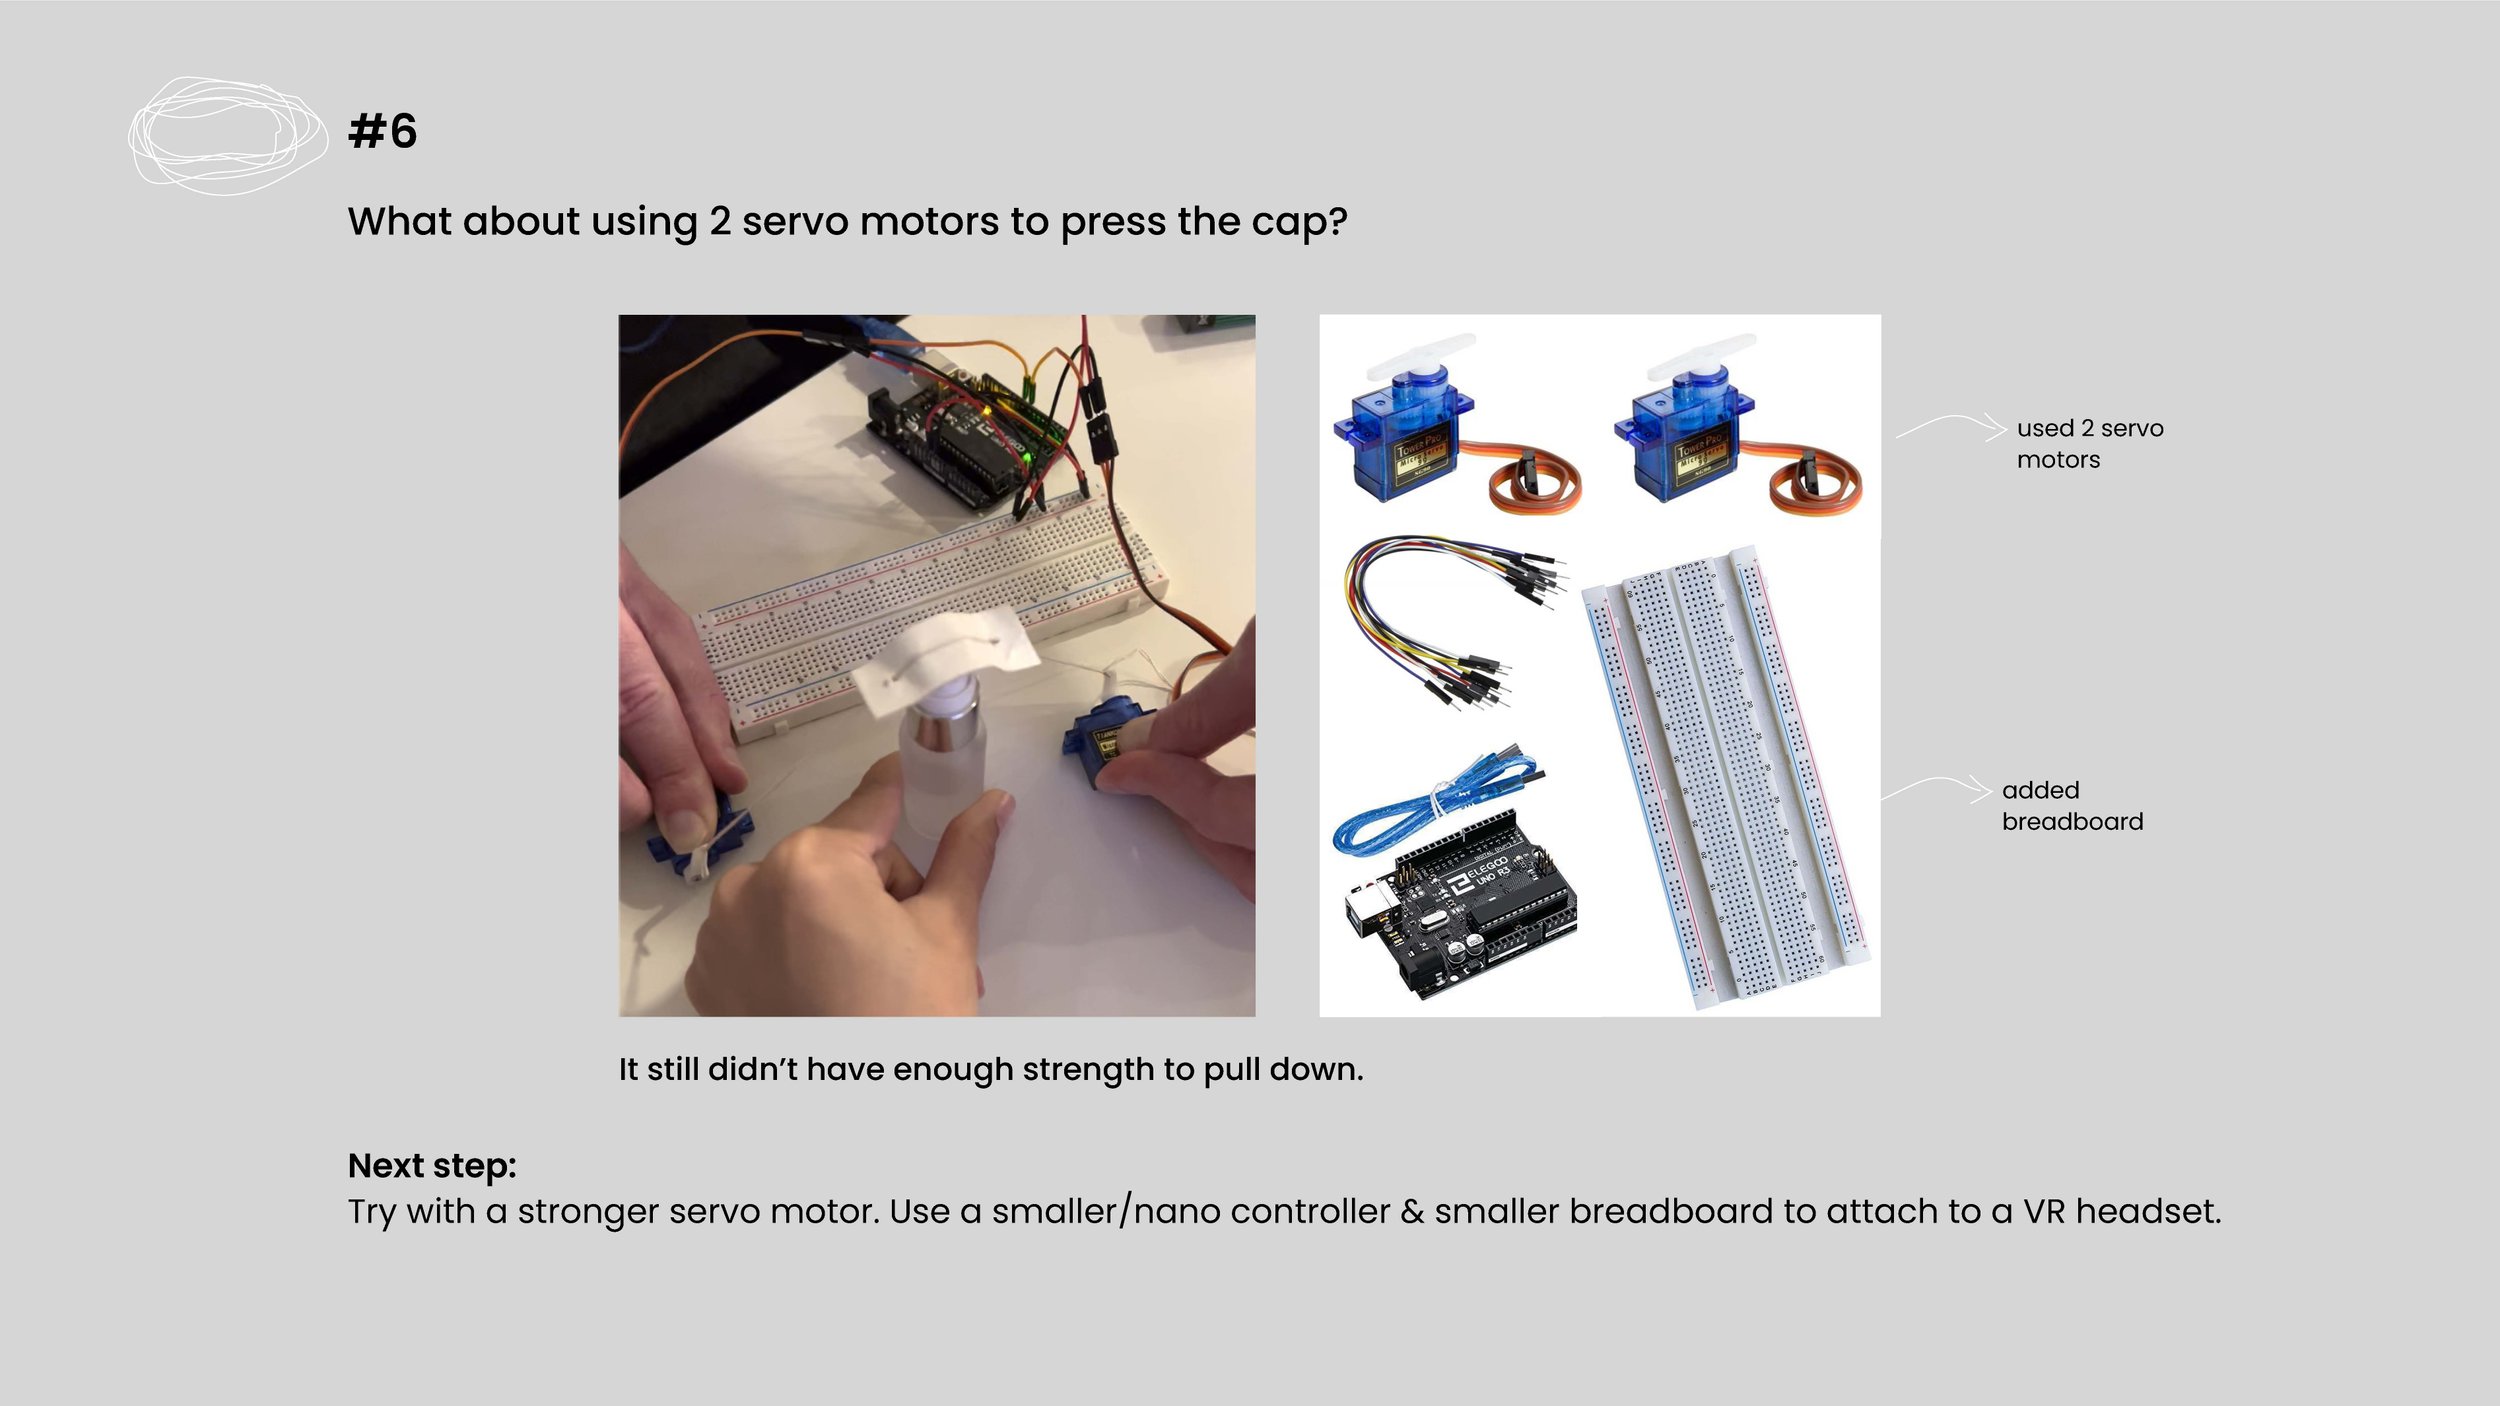
In this step of prototyping, I used two servo motors, thinking that they would have more strength to push down the cap and give more balance if pushed down from two sides of the spray bottle. Using two servo motors was helpful in creating an evenly balanced push; however, the servo motors I used still didn’t have the strength to push down the cap of the spray bottle. So, I researched and learned that servo motors have different types and strengths, and I was using the most basic one.
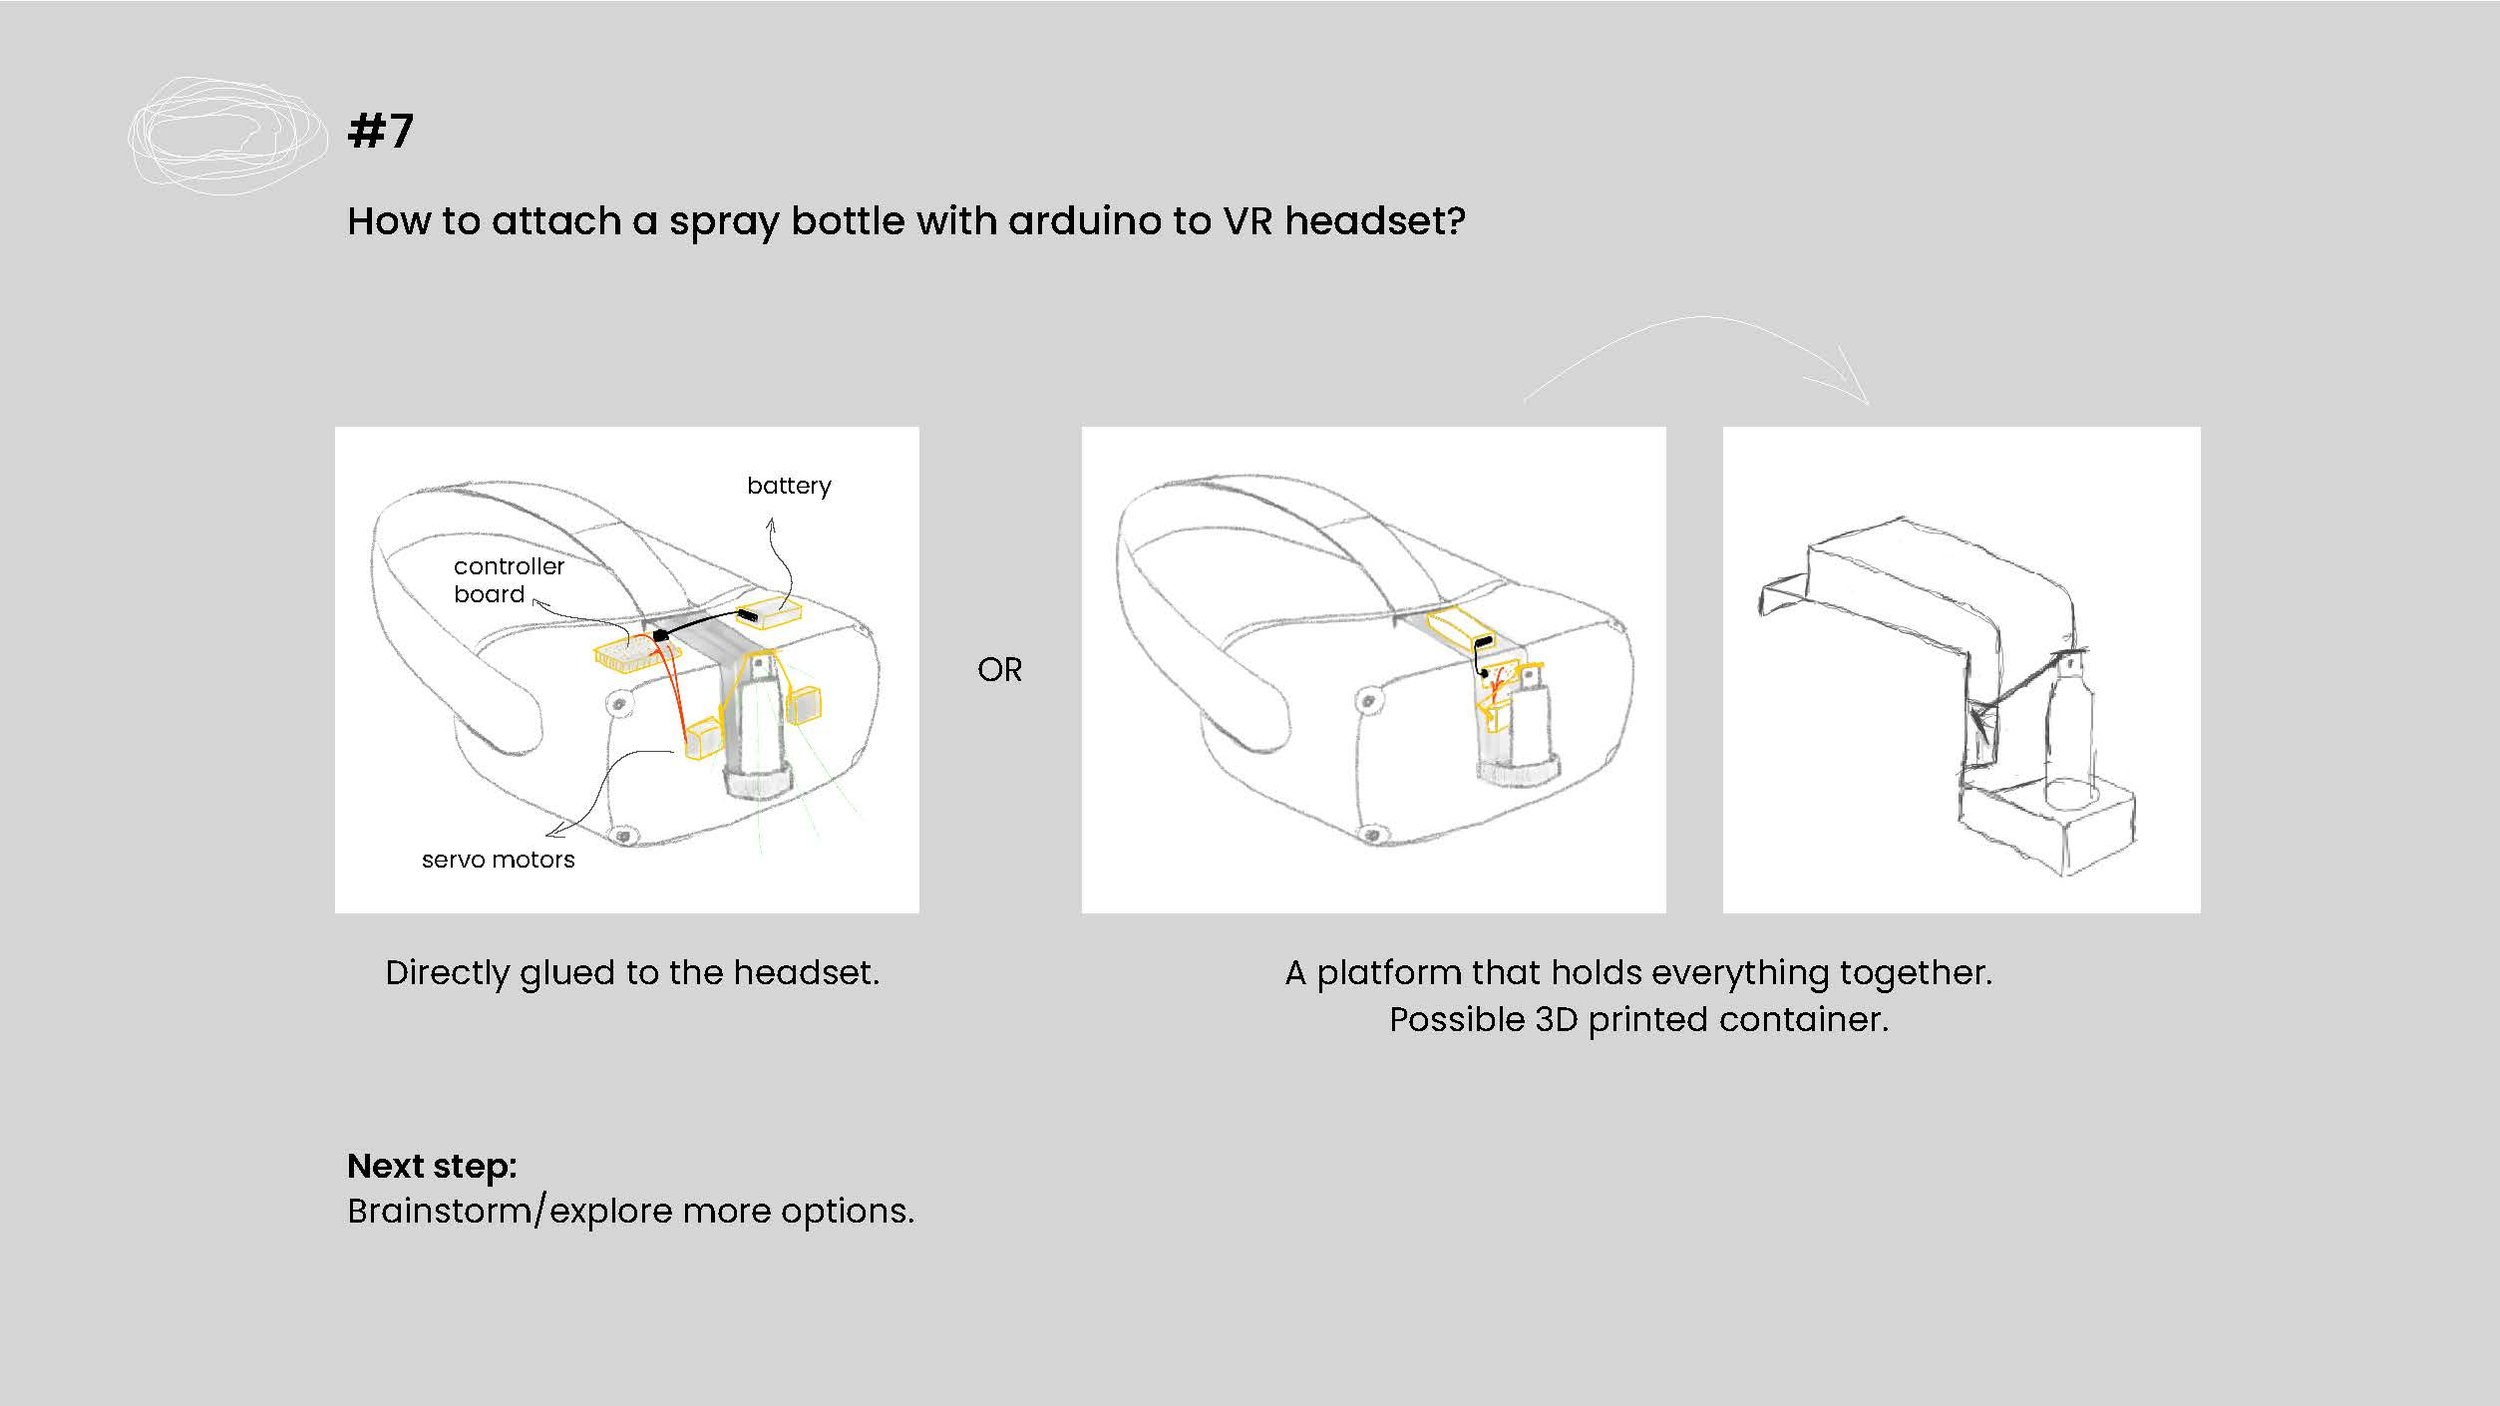
Day 7 of prototyping explored options for a container that holds everything together which can be attached to the VR headset. It was challenging to come up with one final solution for the container because I didn’t have the final working automatic spray with Arduino at this stage. The size of an Arduino board (nano or regular size), breadboard, and servo motors will influence the shape and size of the container.
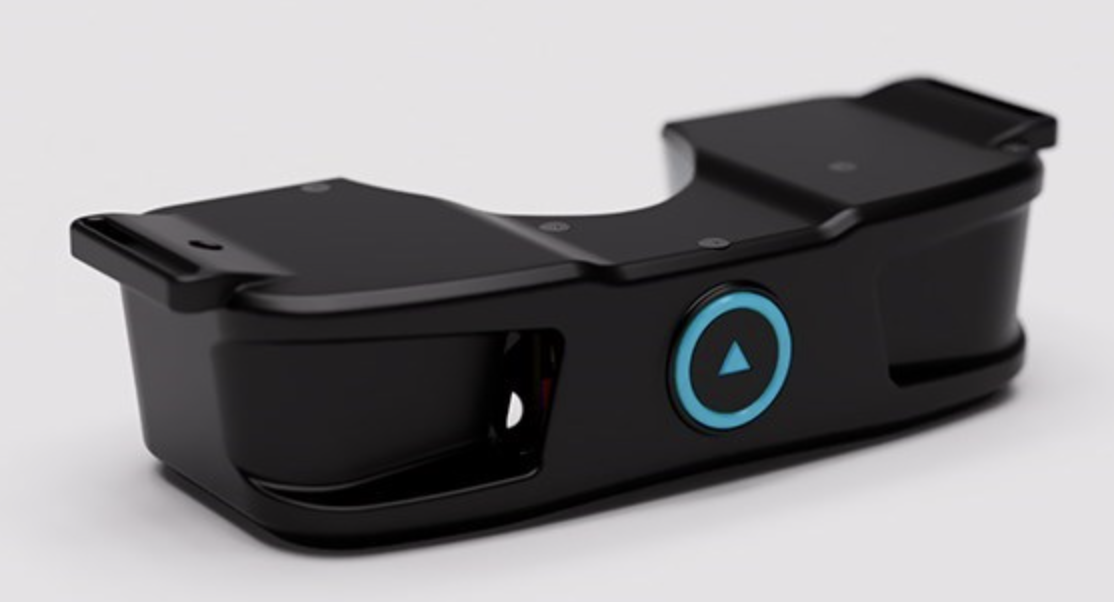
Final Prototype
DIY scent spray device built with Arduino
Following the quick seven prototypes, the next step was to create a functional design from the research/knowledge I had gained throughout the process so far.
The actual container size of the prototype is not accurate. Due to 3D Printing technical difficulties, I had to use a card box to demonstrate.
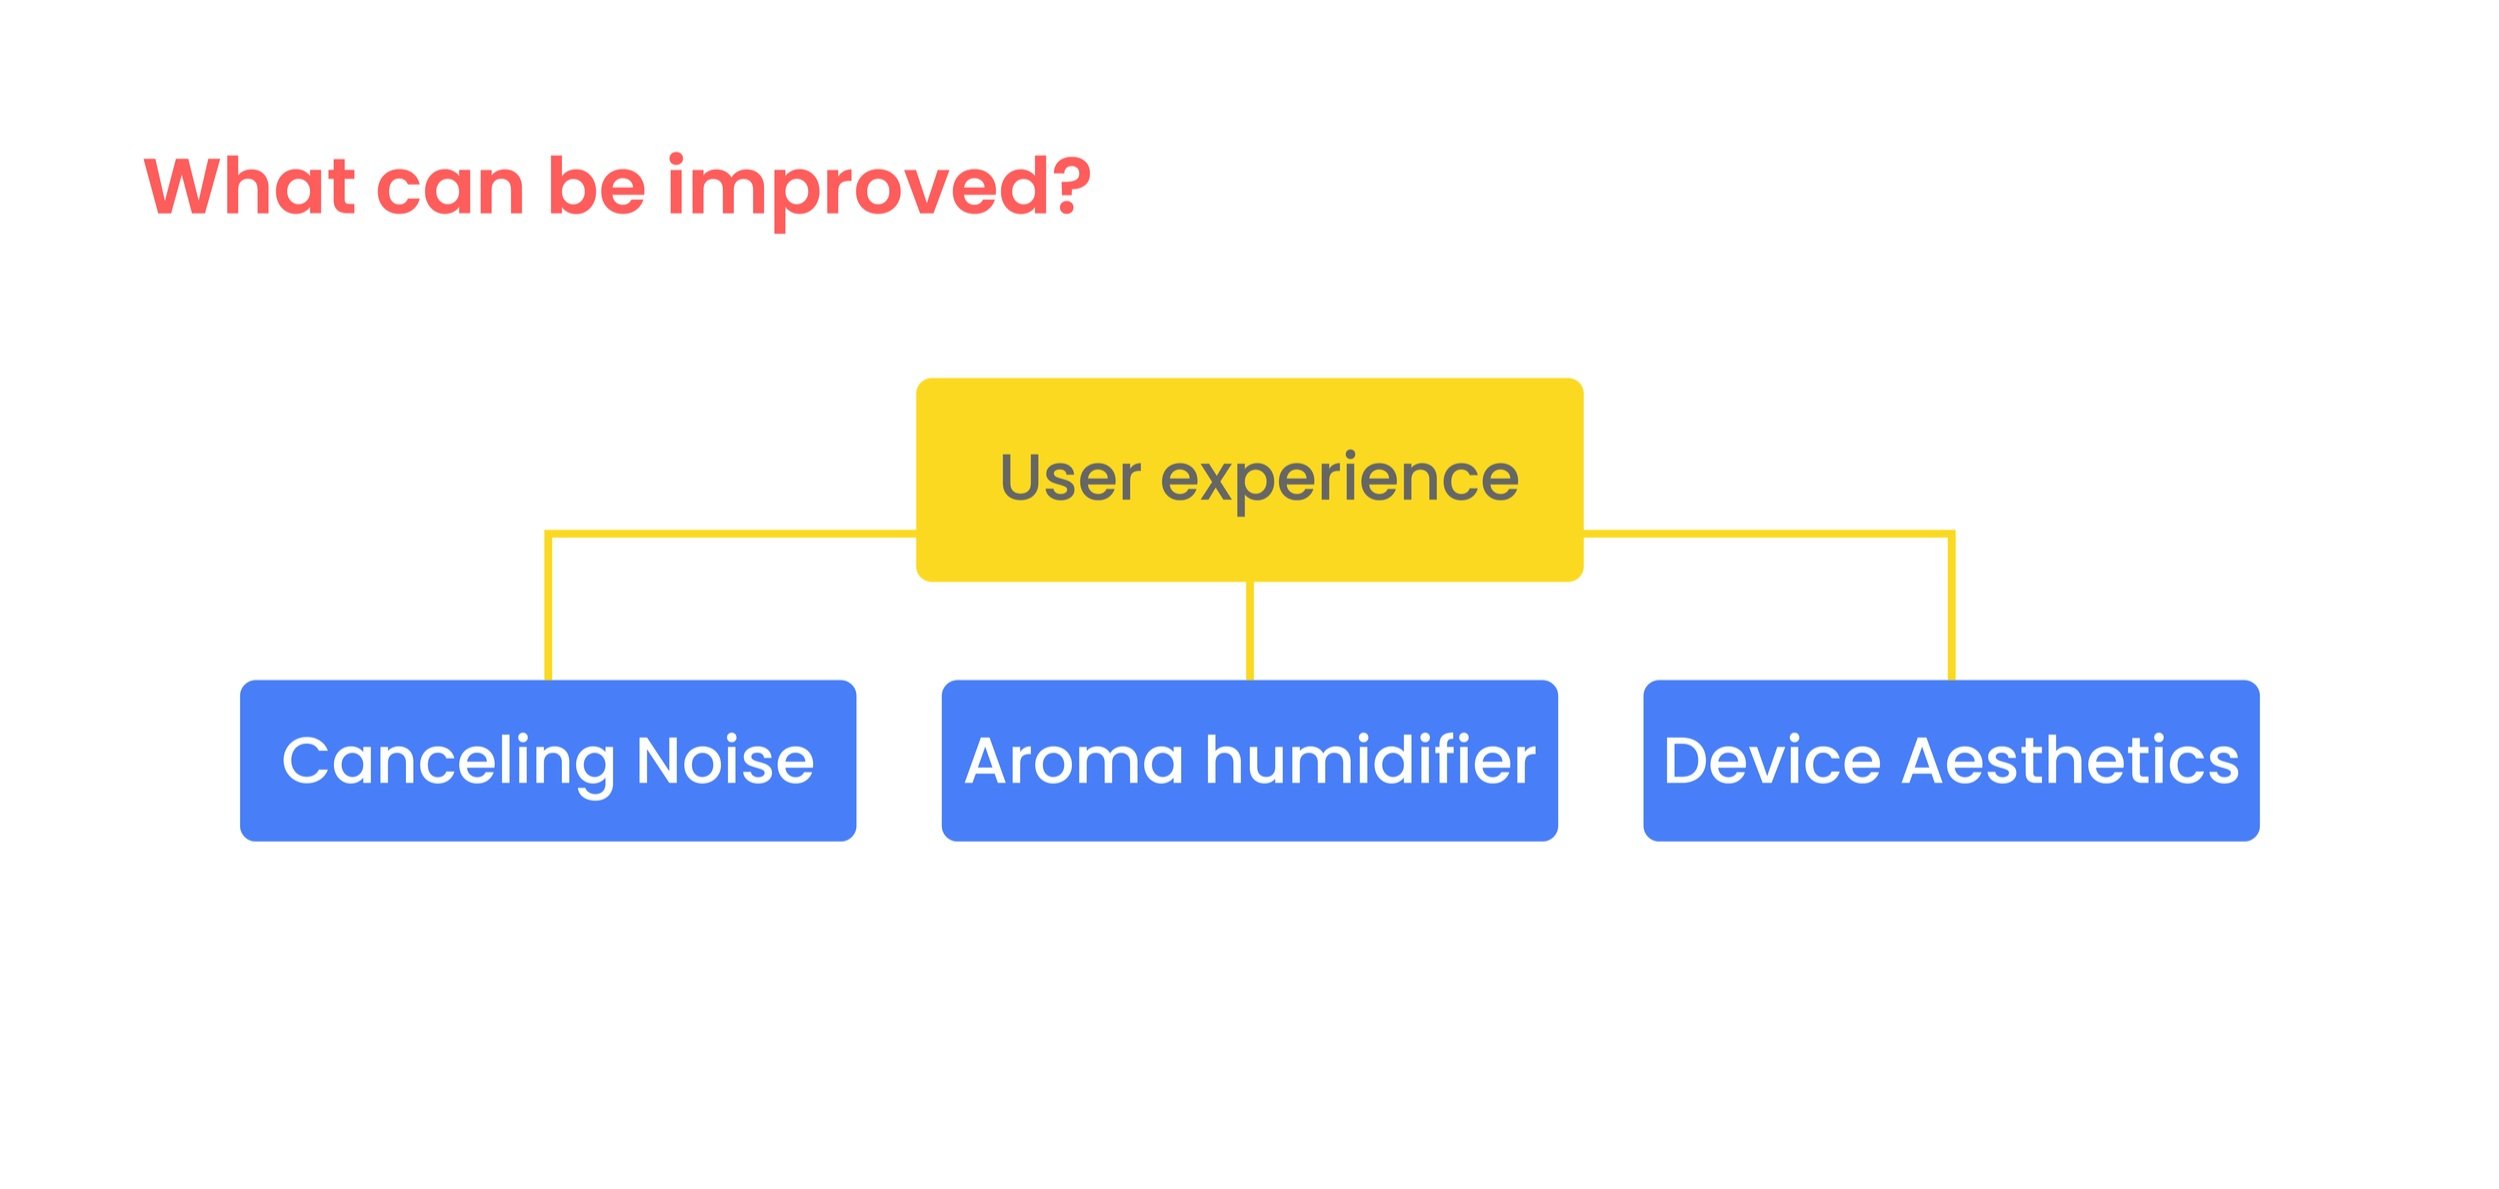
Takeaway
One thing to note in prototyping is asking questions. The prototype being a question can help to come up with solutions and various iterations instead of just focusing on the single final look. I approached my prototypes by breaking observations, breaking them down into smaller goals, and working on each goal separately. I think one of the important things in this process is not to jump to fix on point but analyze what/how happened and iterate work accordingly.